How to complete Stockroom scans
Stockroom scans allow your team to efficiently add or remove products from your locations. Read below to learn more about how to make scans with the Stockroom app.
Starting a Stockroom scan
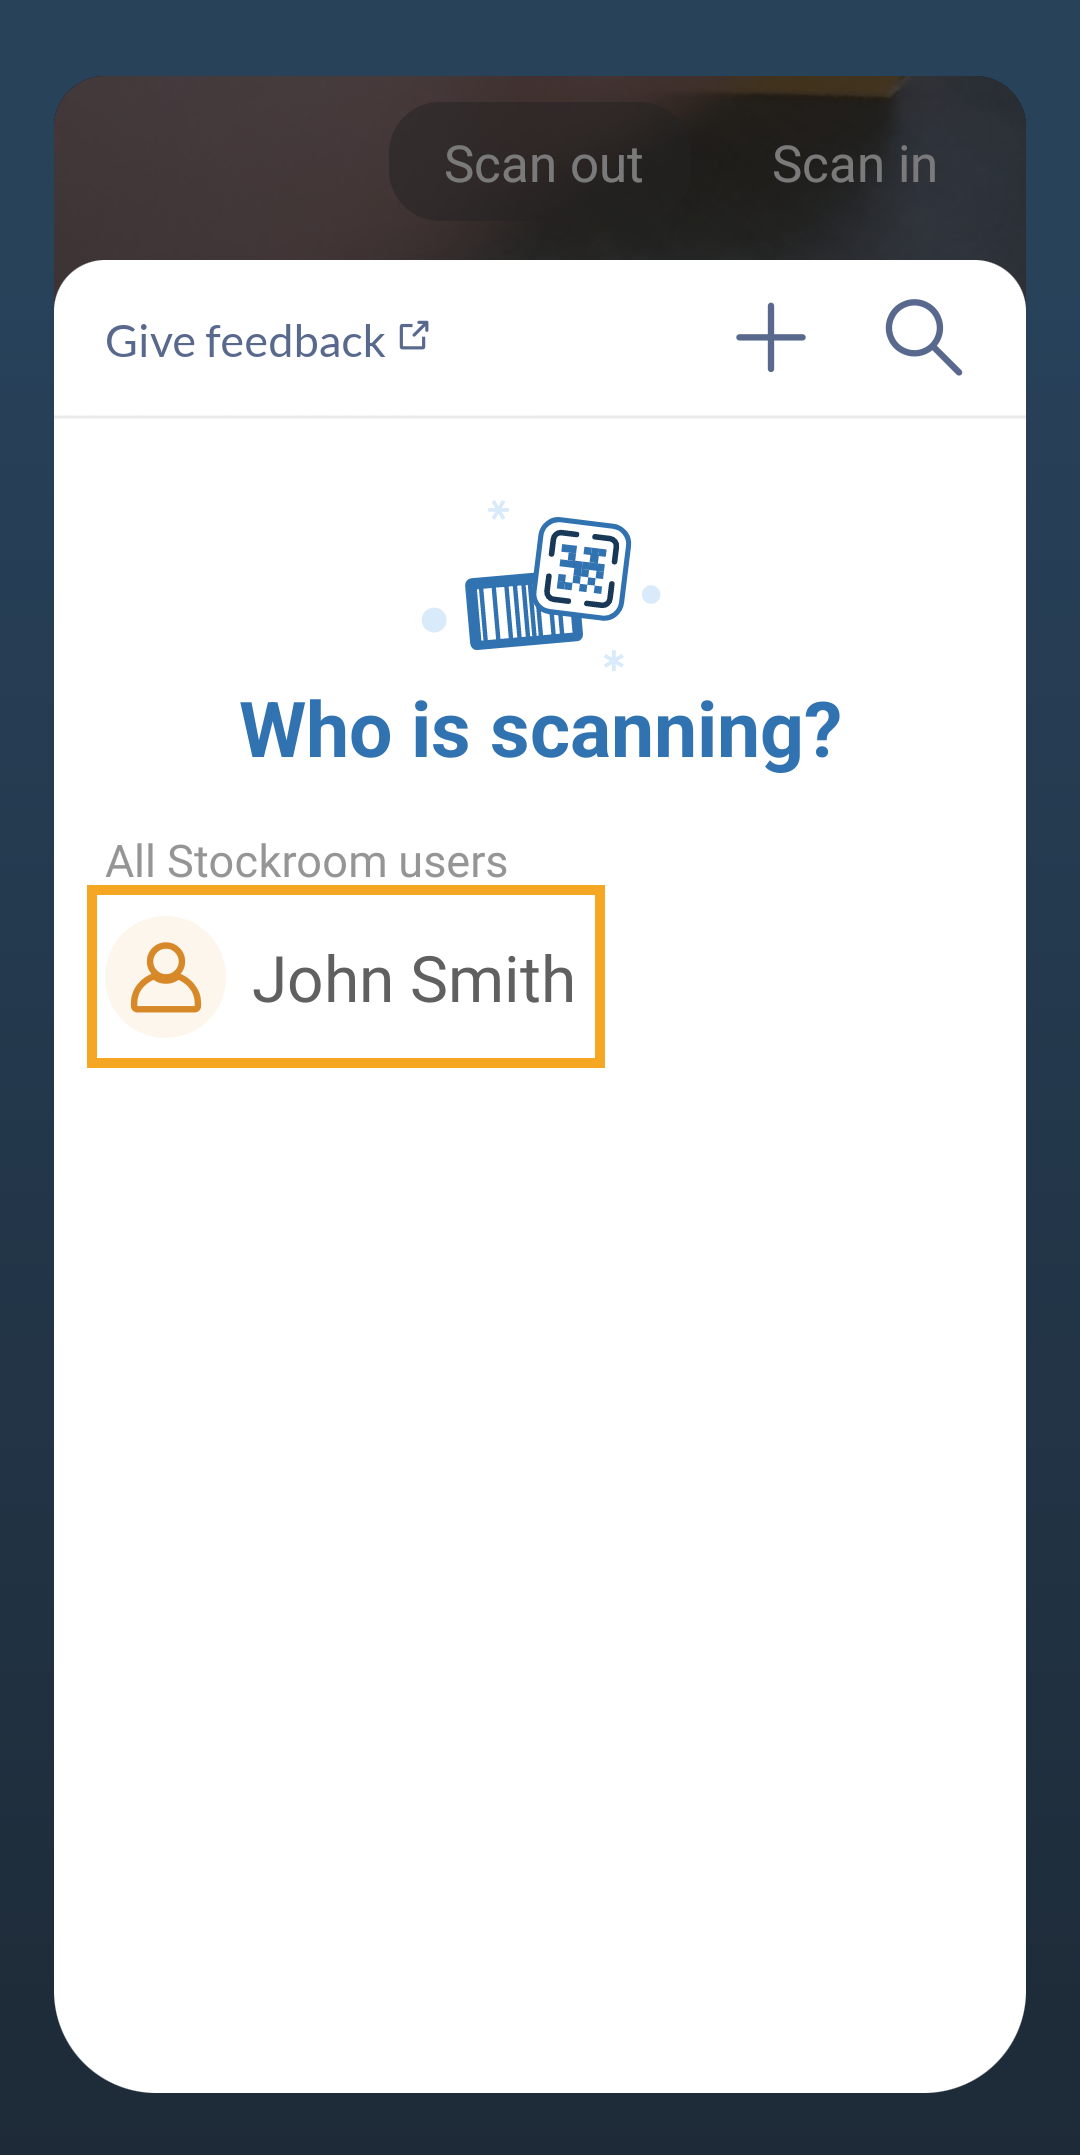
- Open the Stockroom app on the shared/personal device.
- Tap your name from the Who is scanning screen.
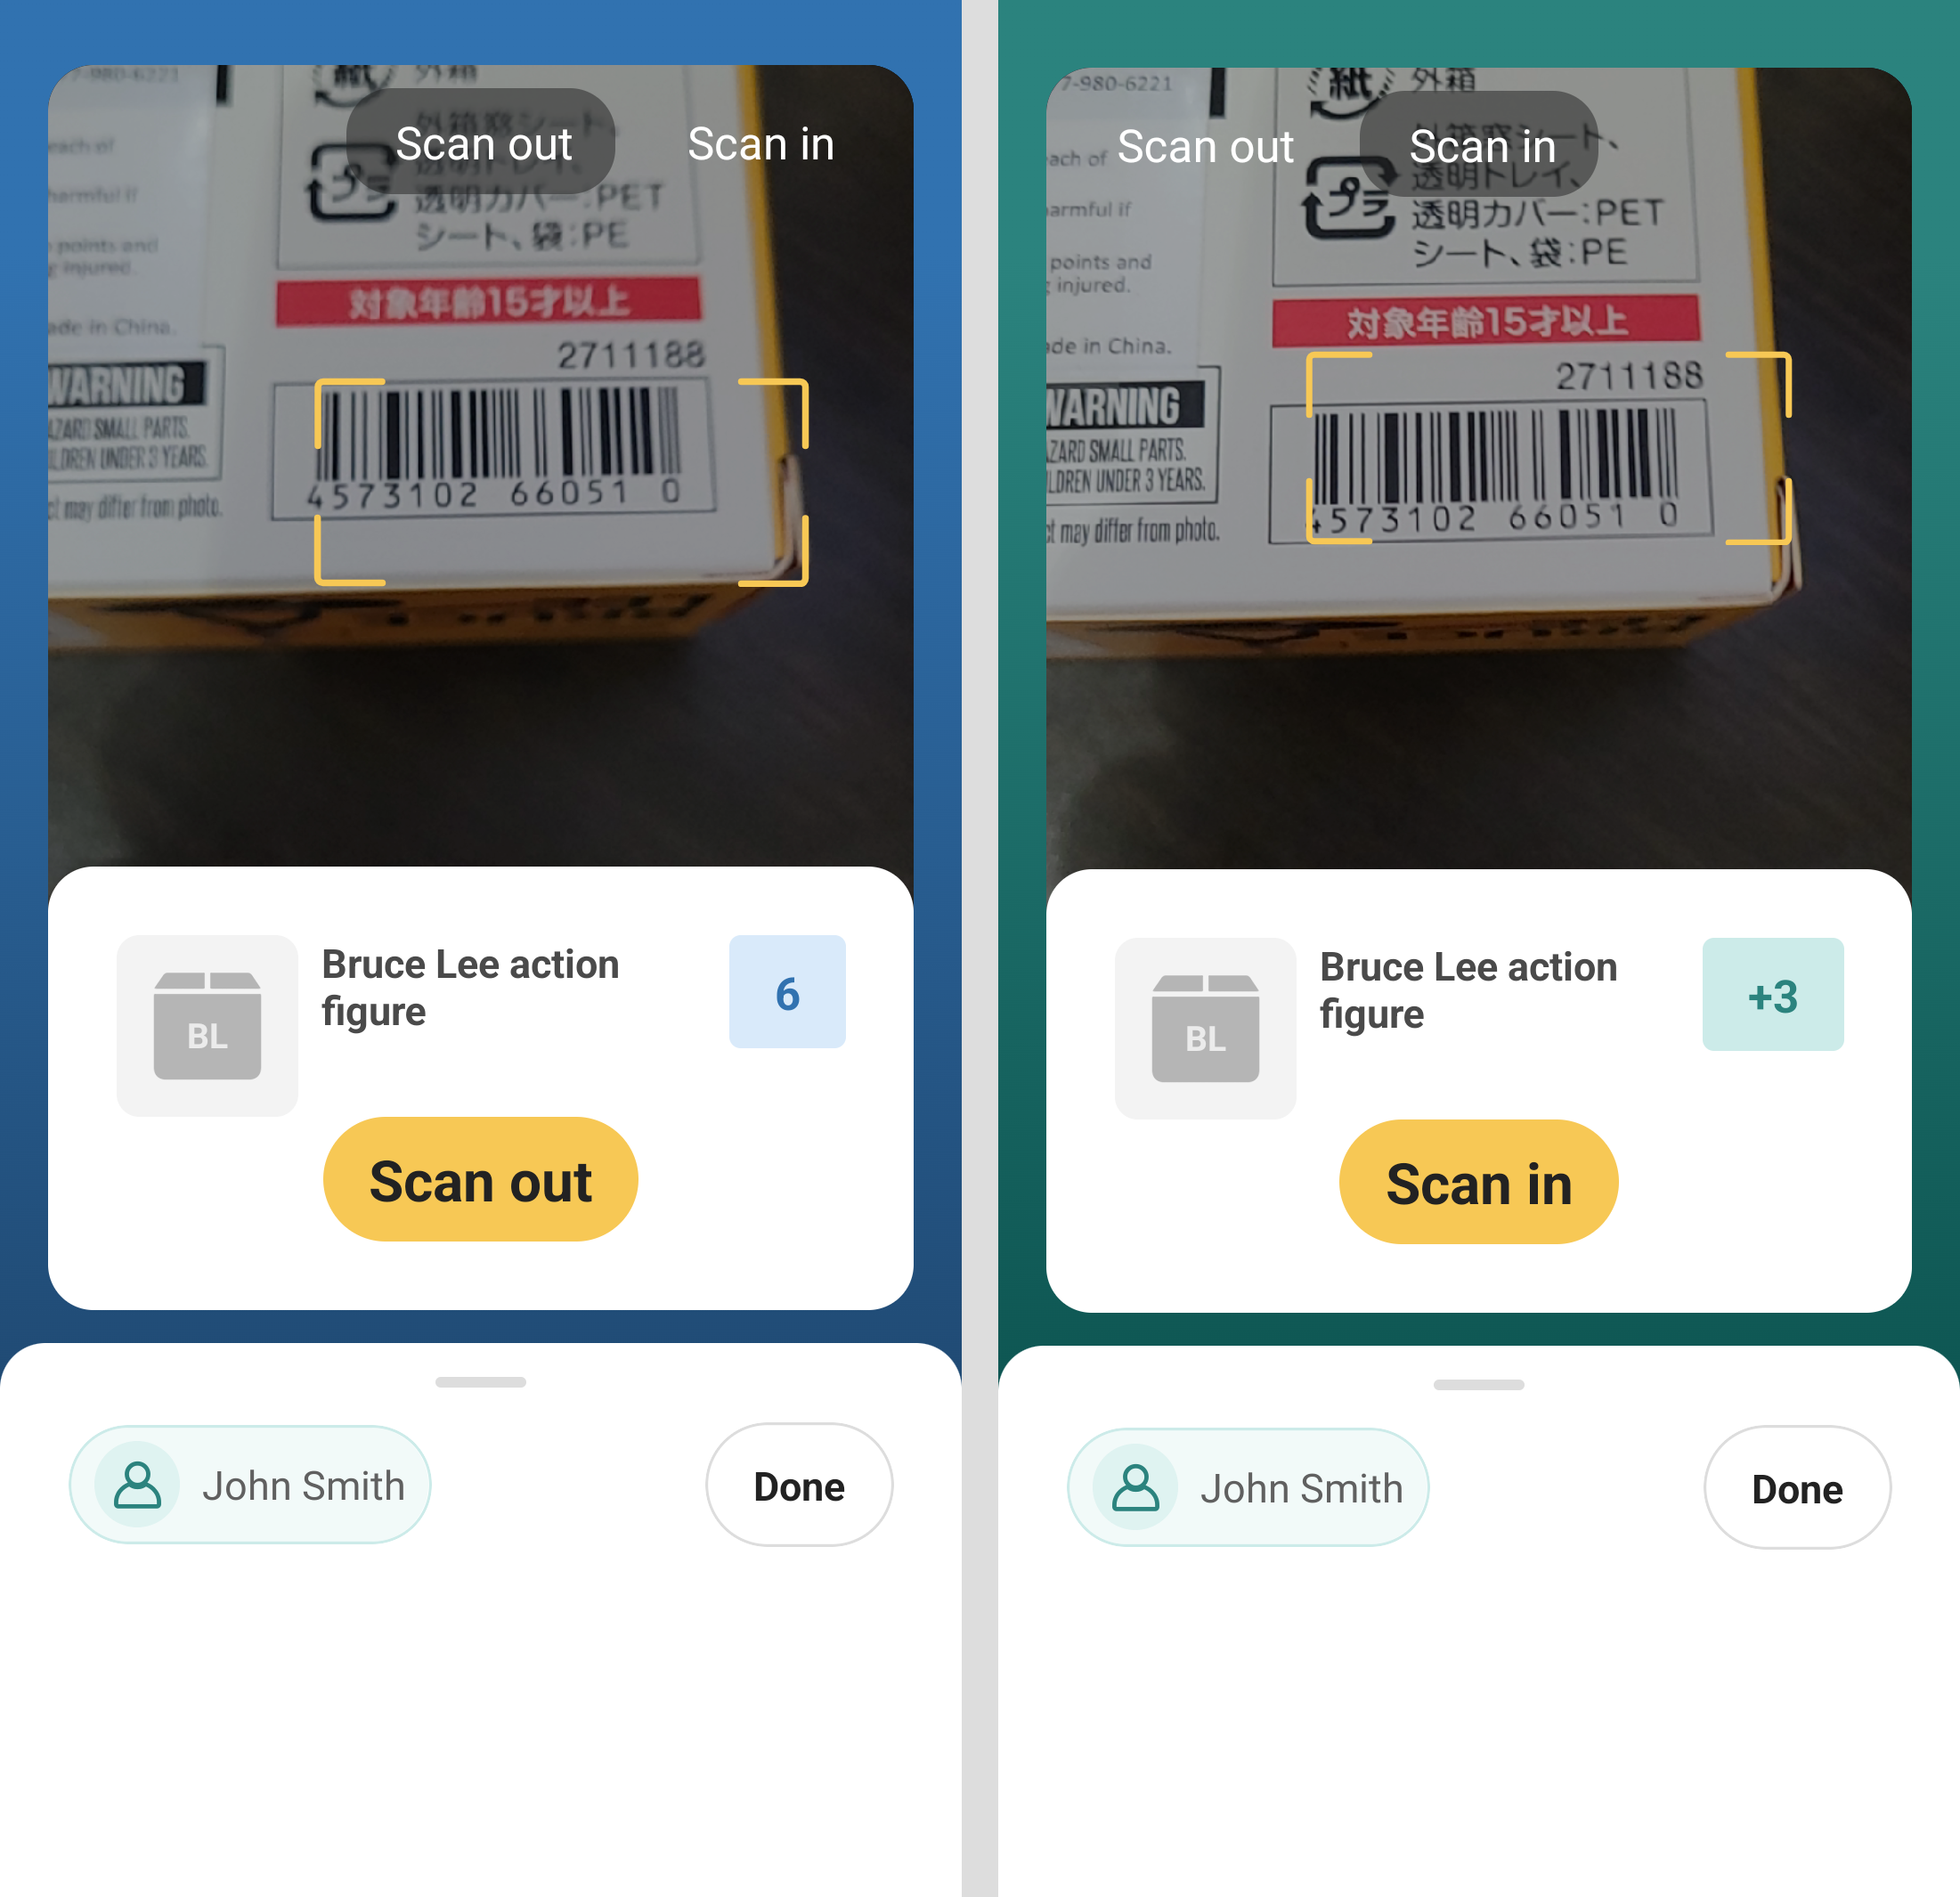
- The Stockroom app is set to Scan out by default to remove products from your inventory. If you need to add products, tap Scan in at the top-right-hand corner.
- Scan the barcode or QR code of the product, then tap Scan out/Scan in. You can tap Scan out/Scan in repeatedly to increase the quantity. After adding the product to the scan, you can also tap on the quantity to manually adjust the number of products you scan in or out.
- Click Done to complete the scan. You’ll see Inventory adjusted to confirm the changes.
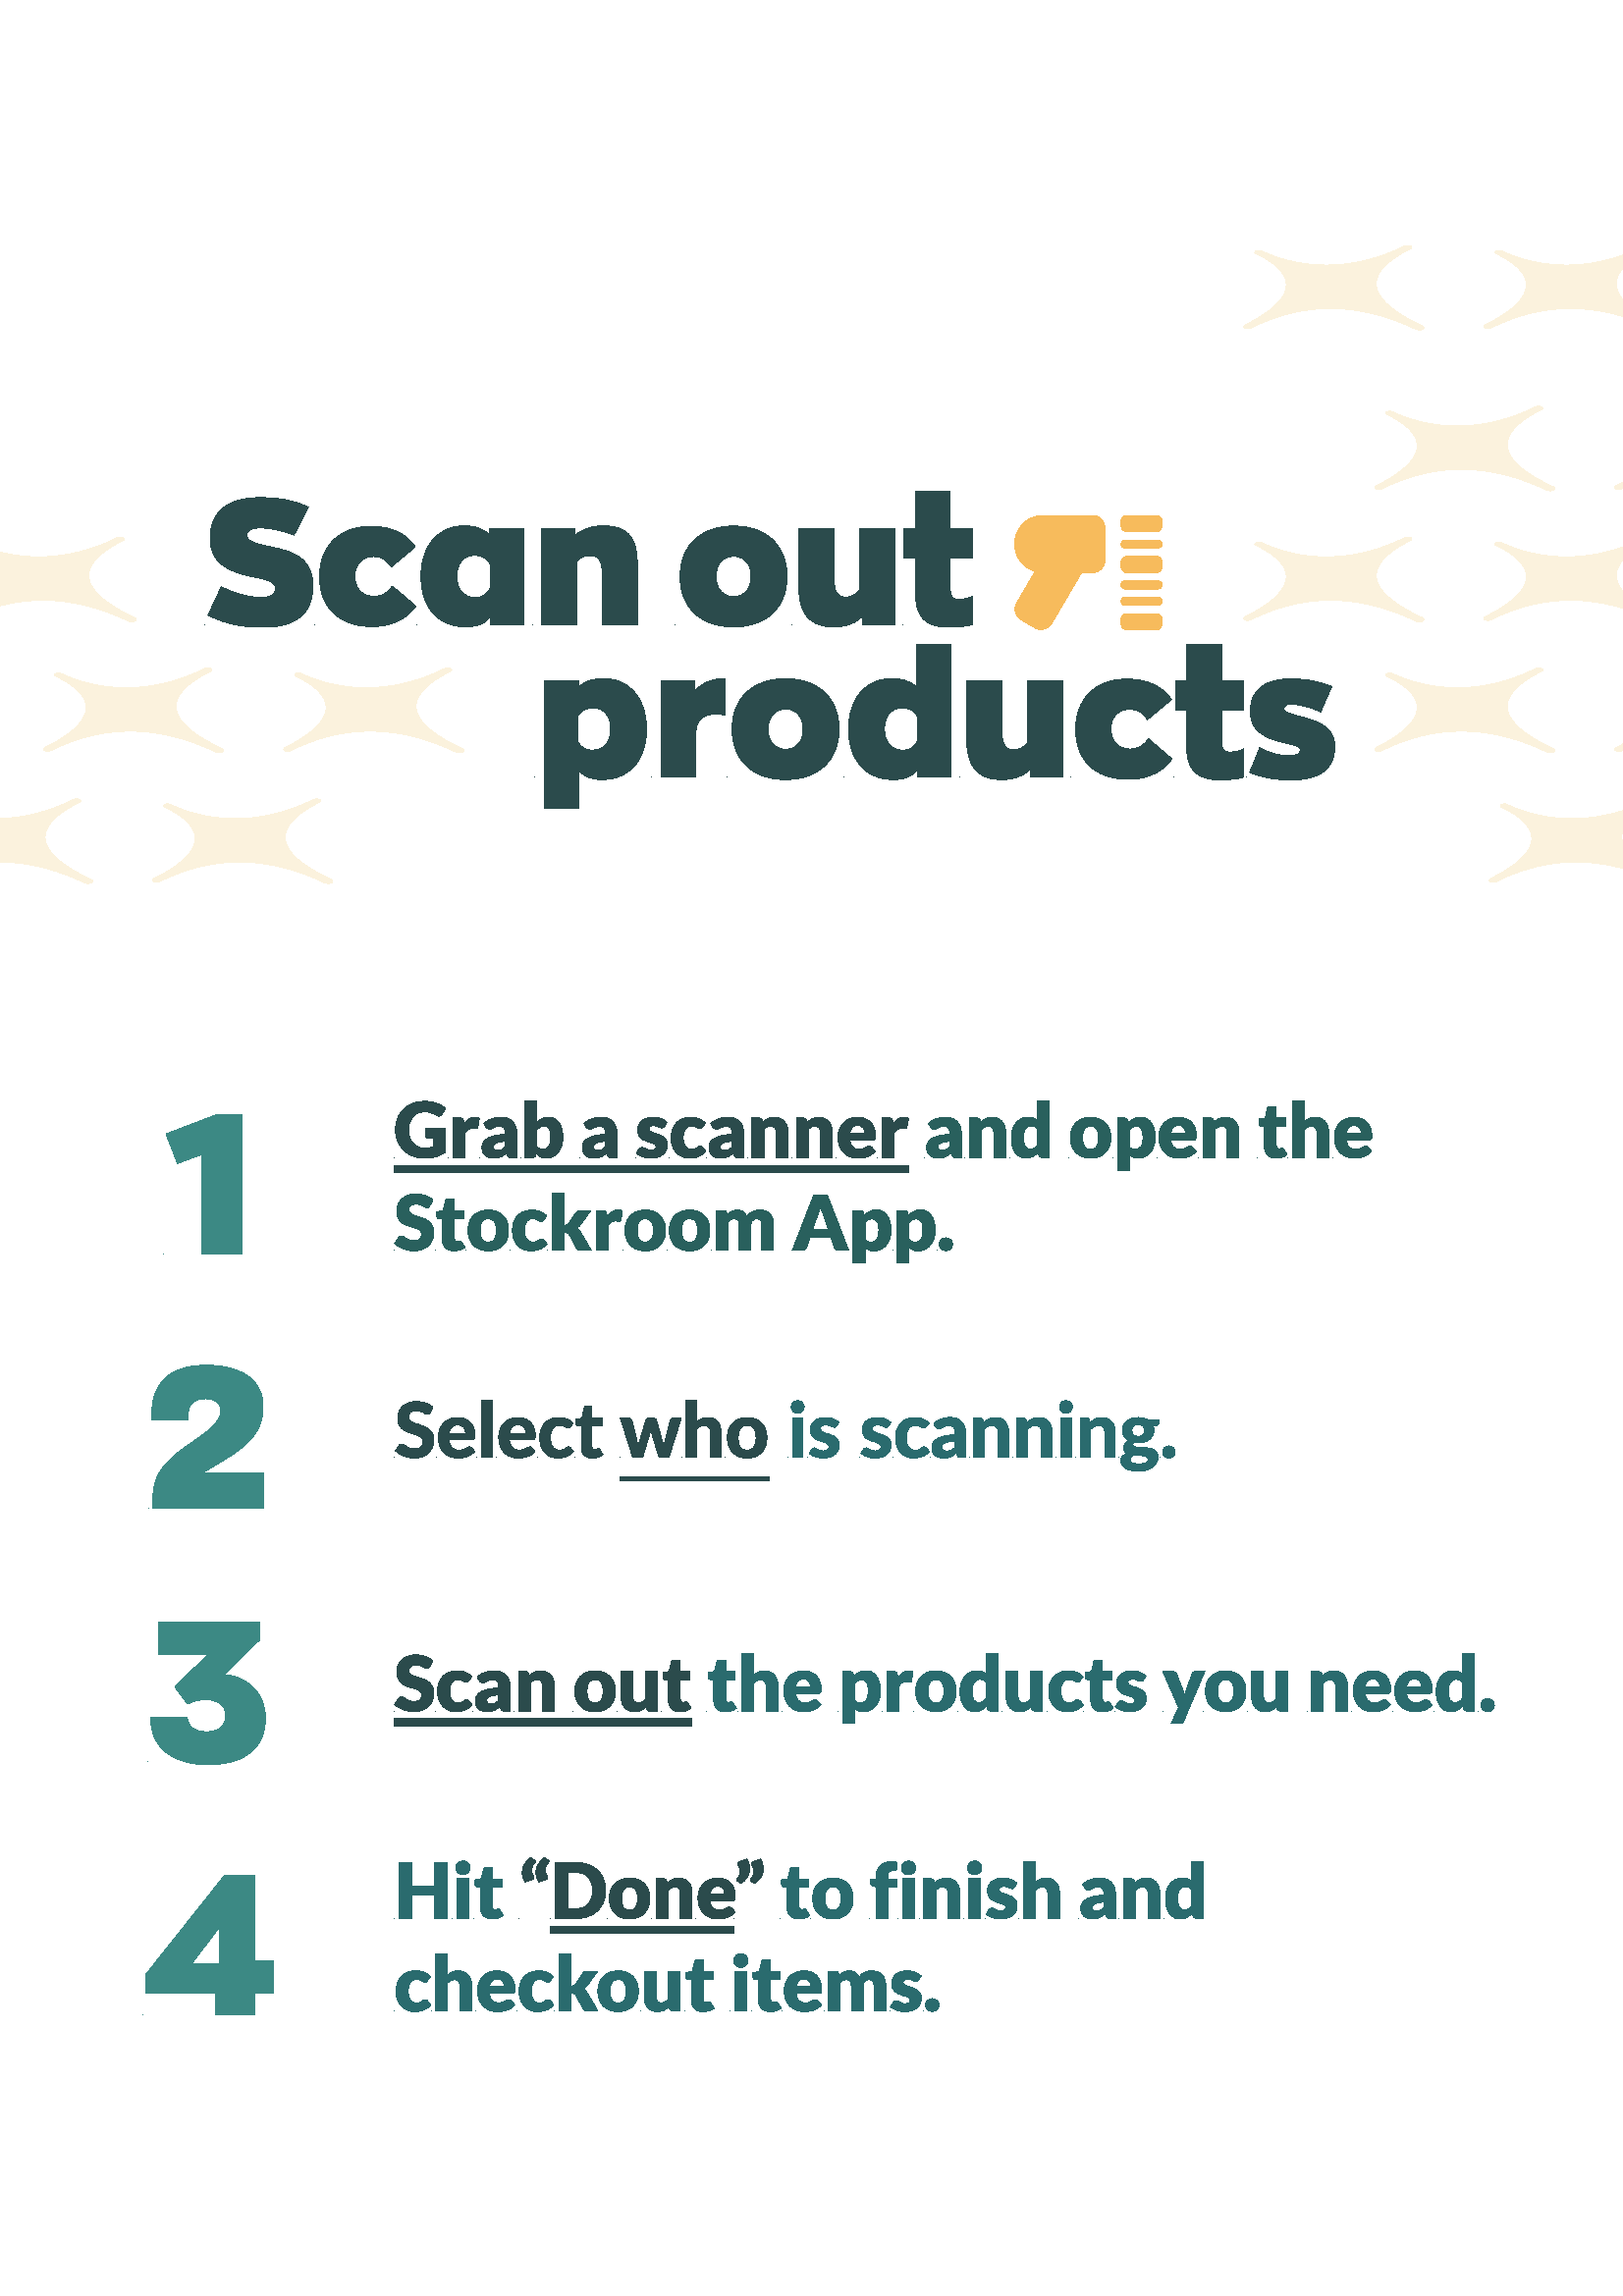
Helpful Stockroom user guide
To help your team remember the Stockroom scan workflow, download and print the PDF below, then display the poster in your Stockroom location.
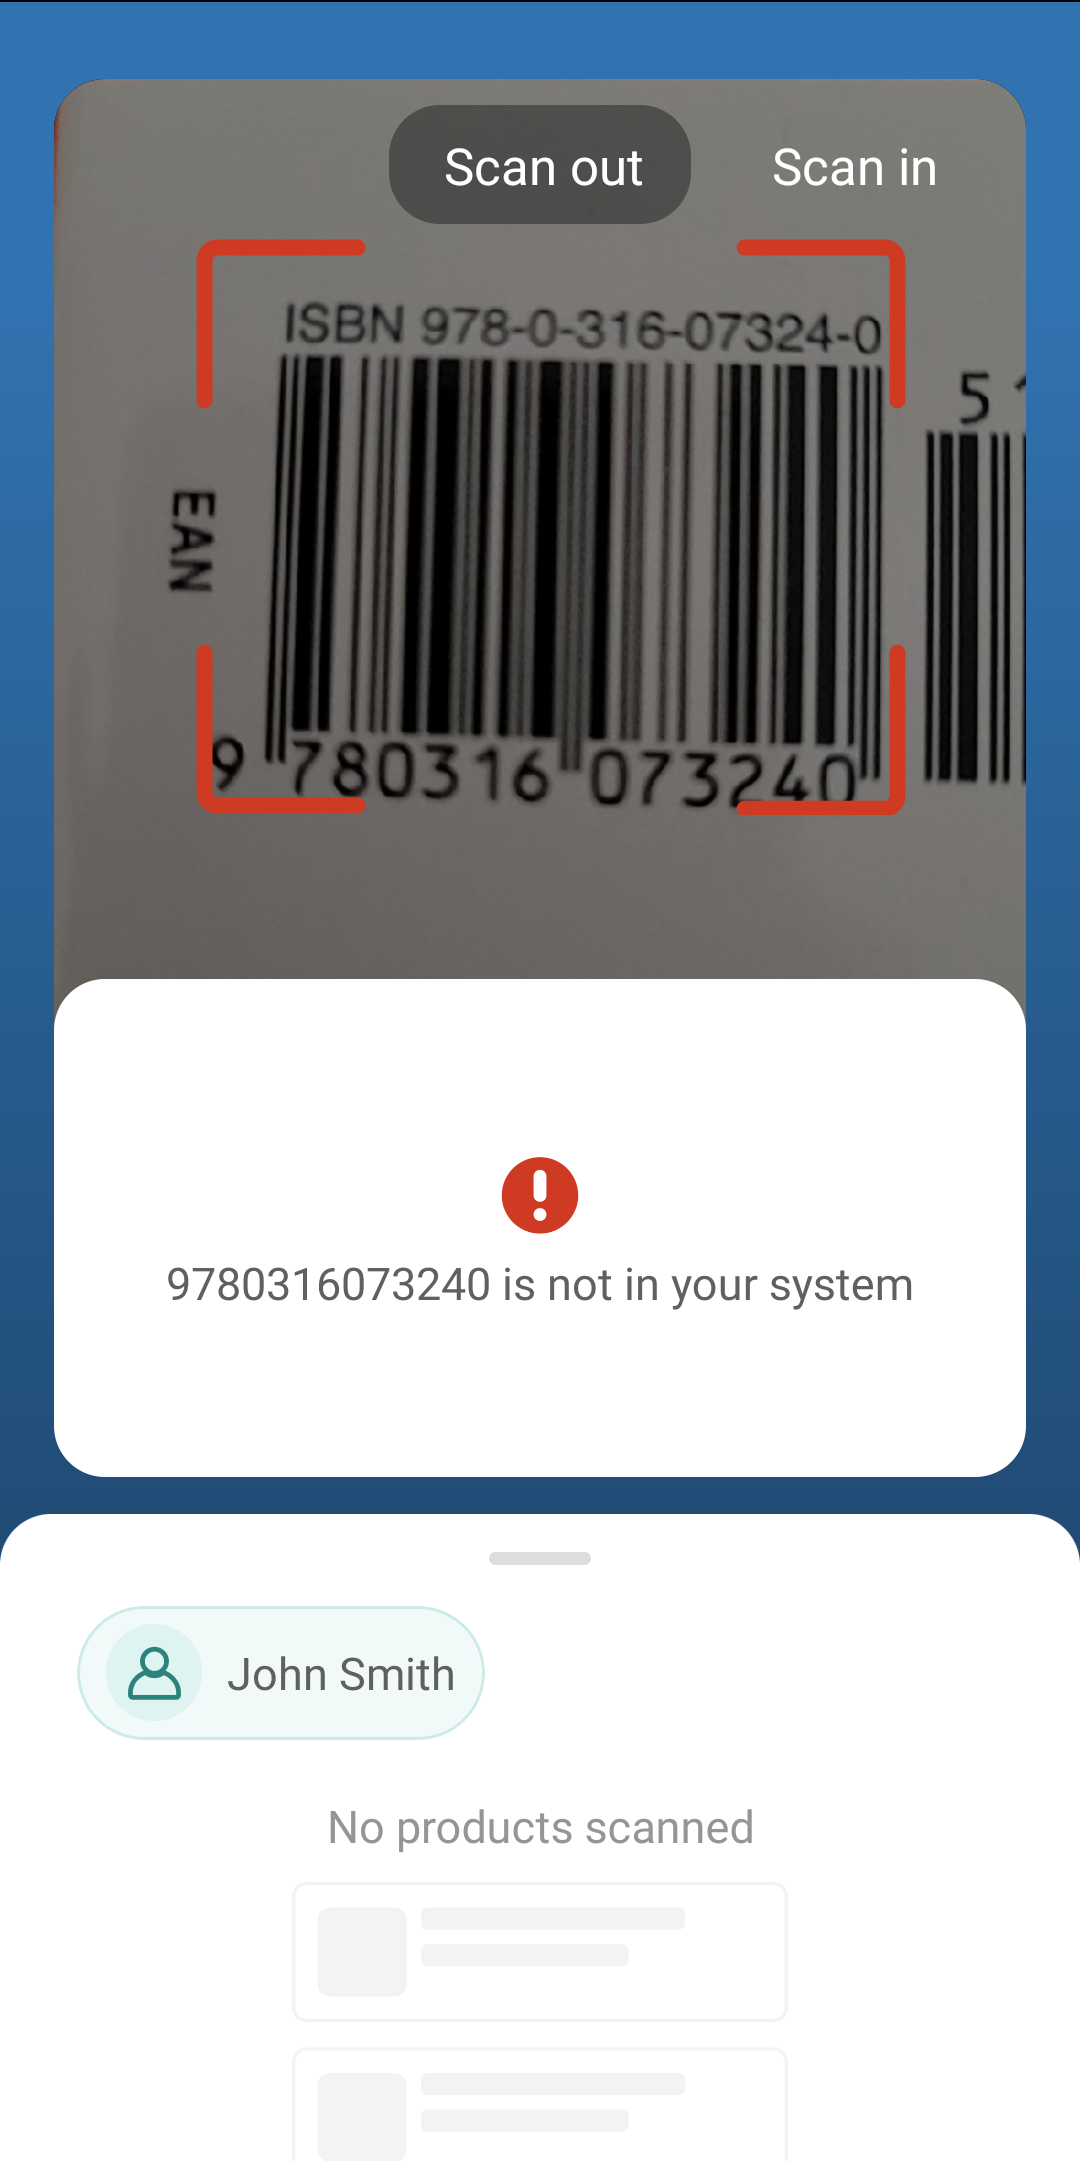
Can I create new products from the Stockroom app?
Currently, Stockroom users cannot create new products from the app.
If you scan a new barcode or QR code, the Stockroom app will tell you the product isn’t currently available in inFlow.
We’d encourage Stockroom users to contact the inFlow Administrator to add the new products to inFlow for Web, Mobile, or Windows.
Stockroom scans in inFlow for Web
The Stockroom feature was originally designed for use with the Stockroom mobile app. However, if you’re using inFlow Stockroom for Web, you can also easily create Stockroom scans online and edit any scans you made using the Stockroom app.
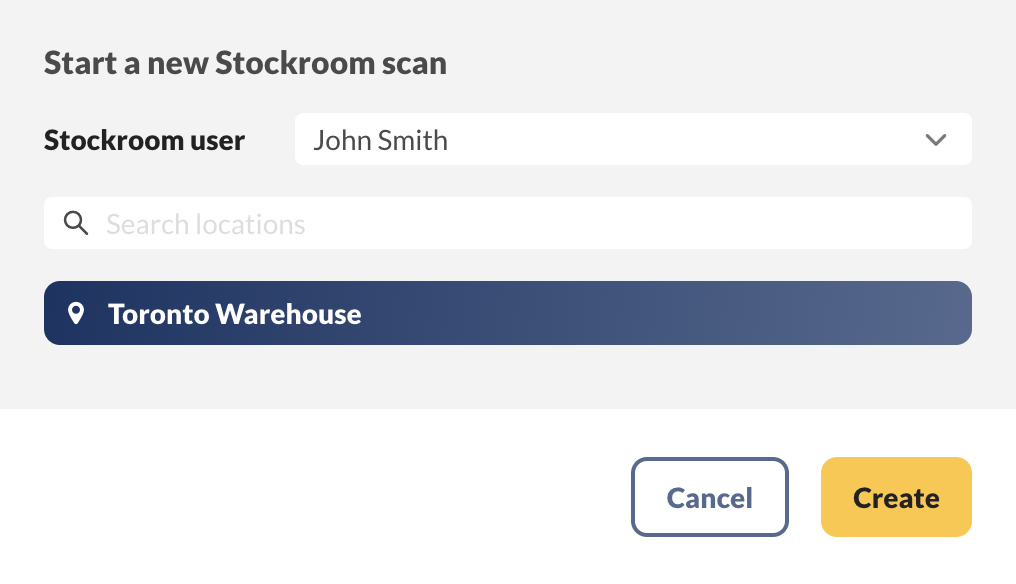
Creating scans in inFlow for Web
- From the Main menu, hover over the Create button>Stockroom scan.
- Select the Stockroom user and Stockroom location, then click Create.
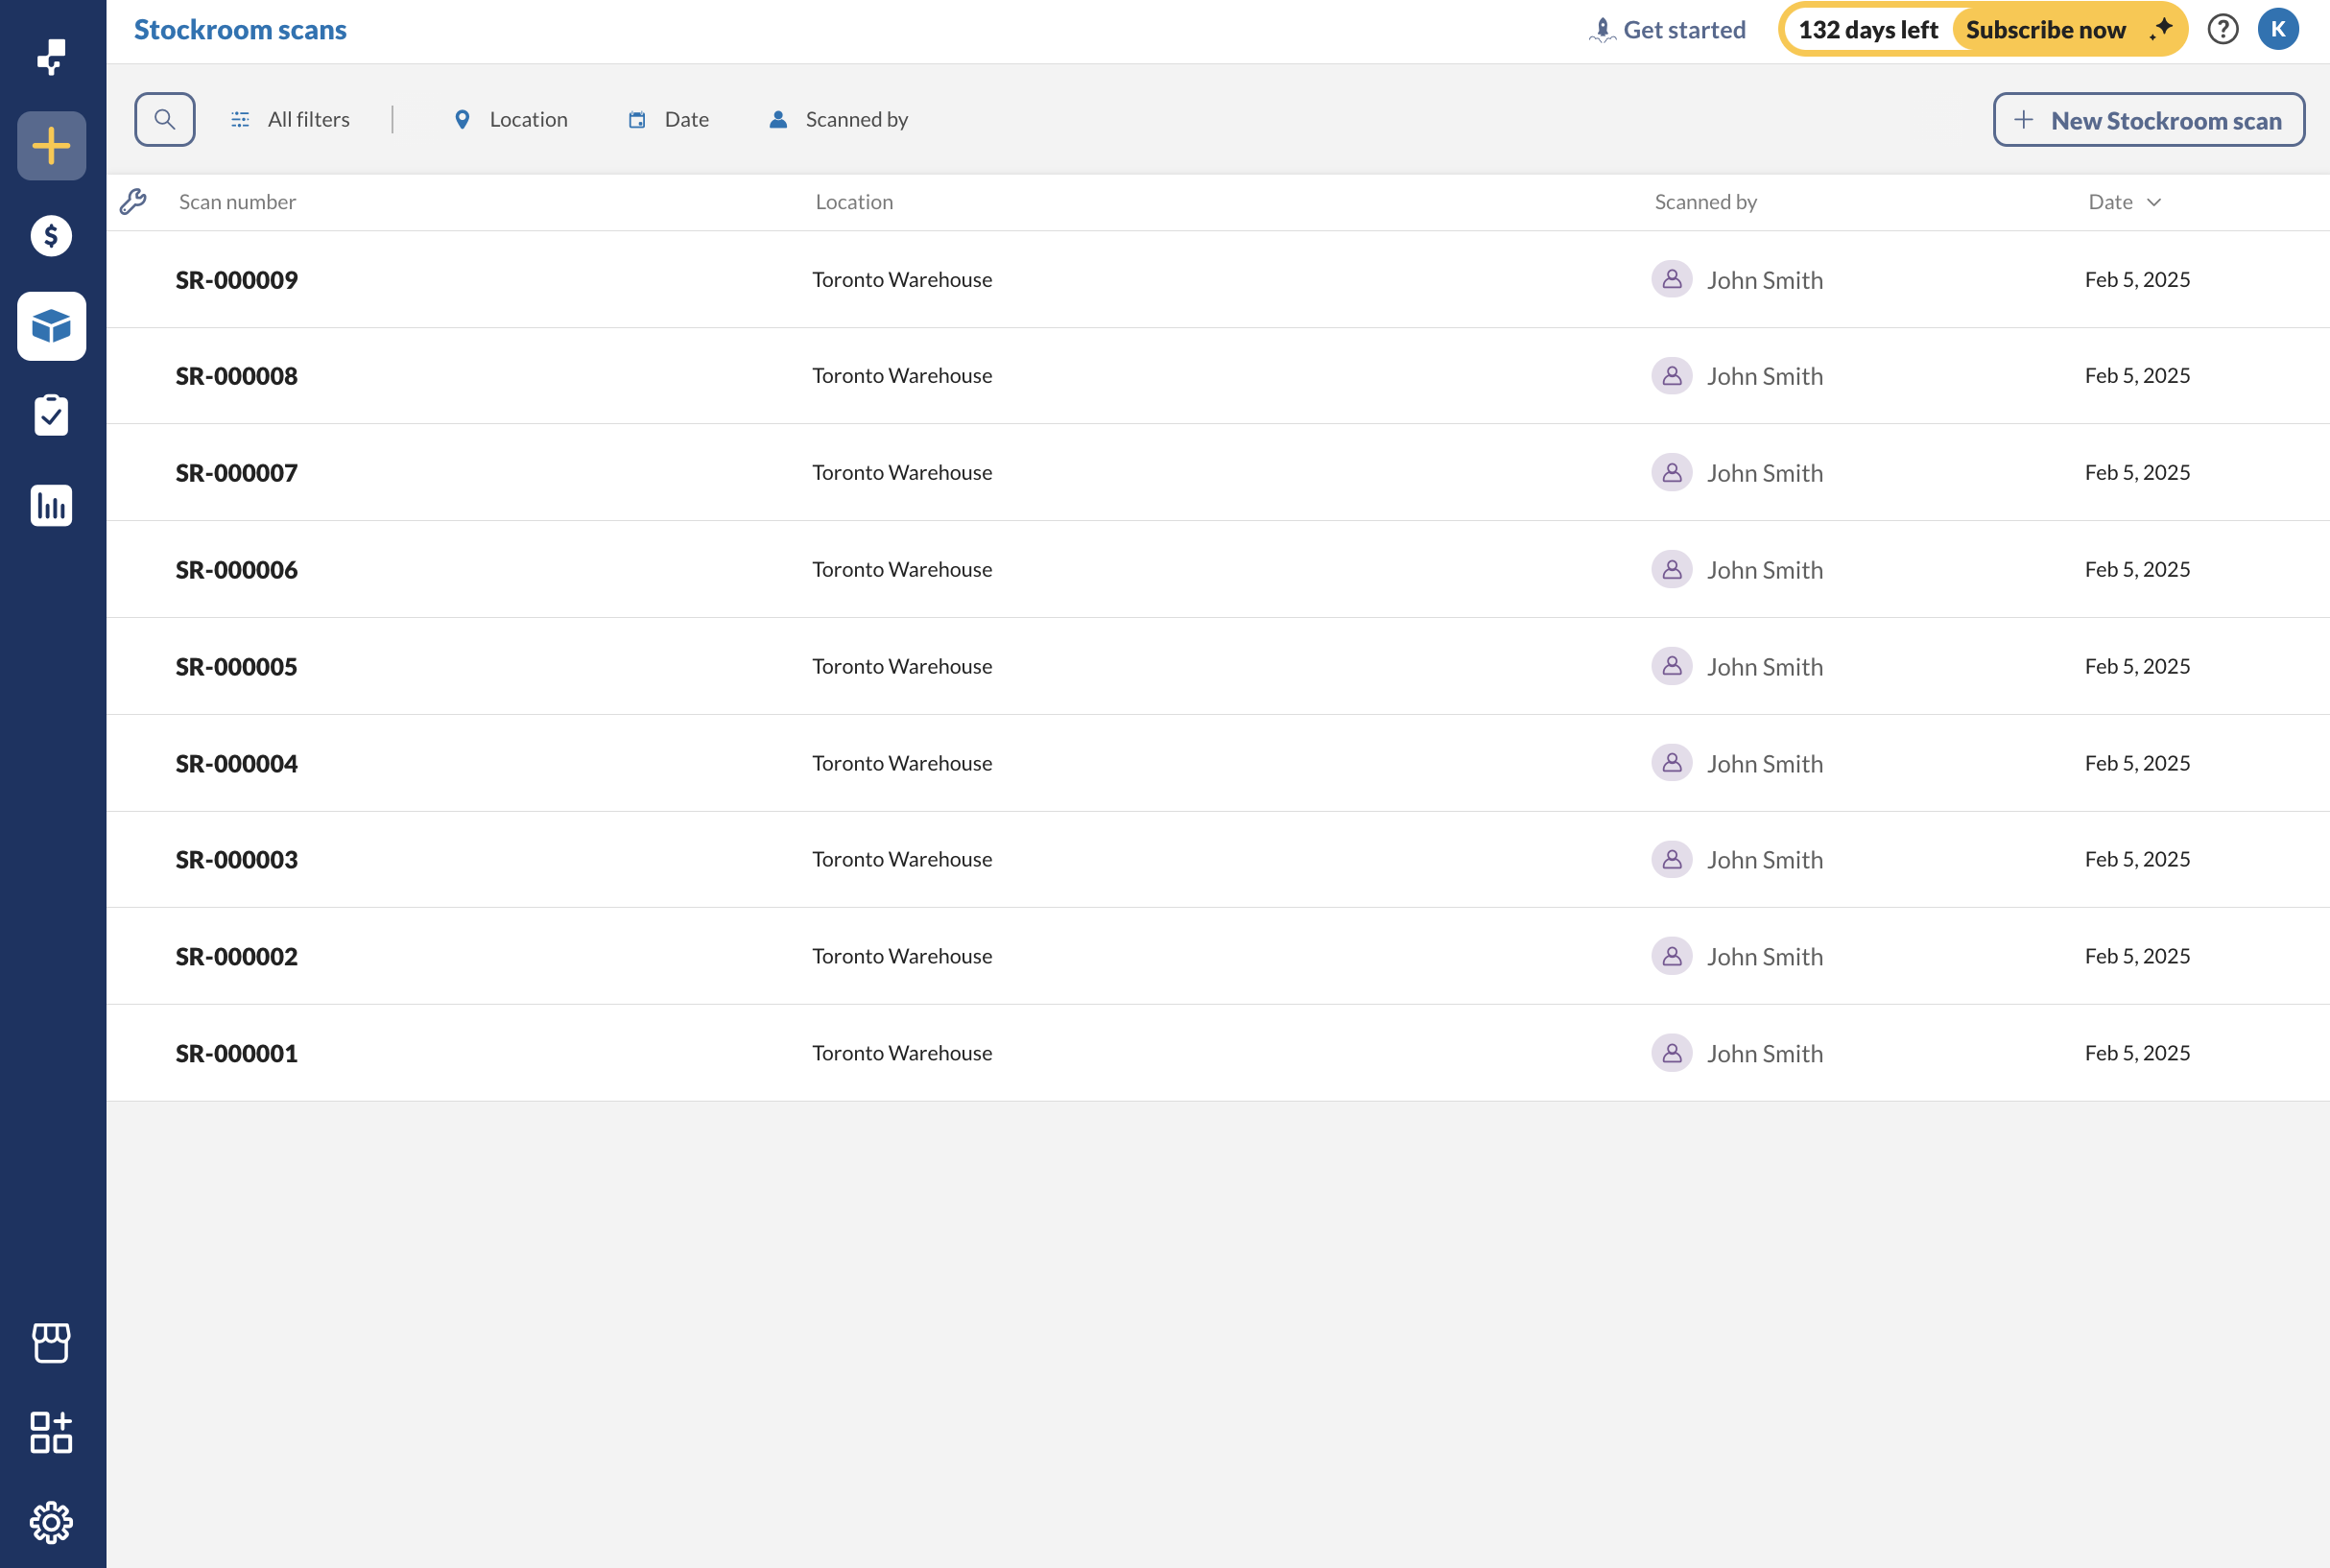
Reviewing scans in inFlow for web
- Go to the Stockroom scan list (Main Menu, hover over the Inventory button>Stockroom scans).
- Select any of the scans to review or change the details.
- Click Complete to save your changes.


0 Comments