
How to add product images/pictures
Web
How to add images to products
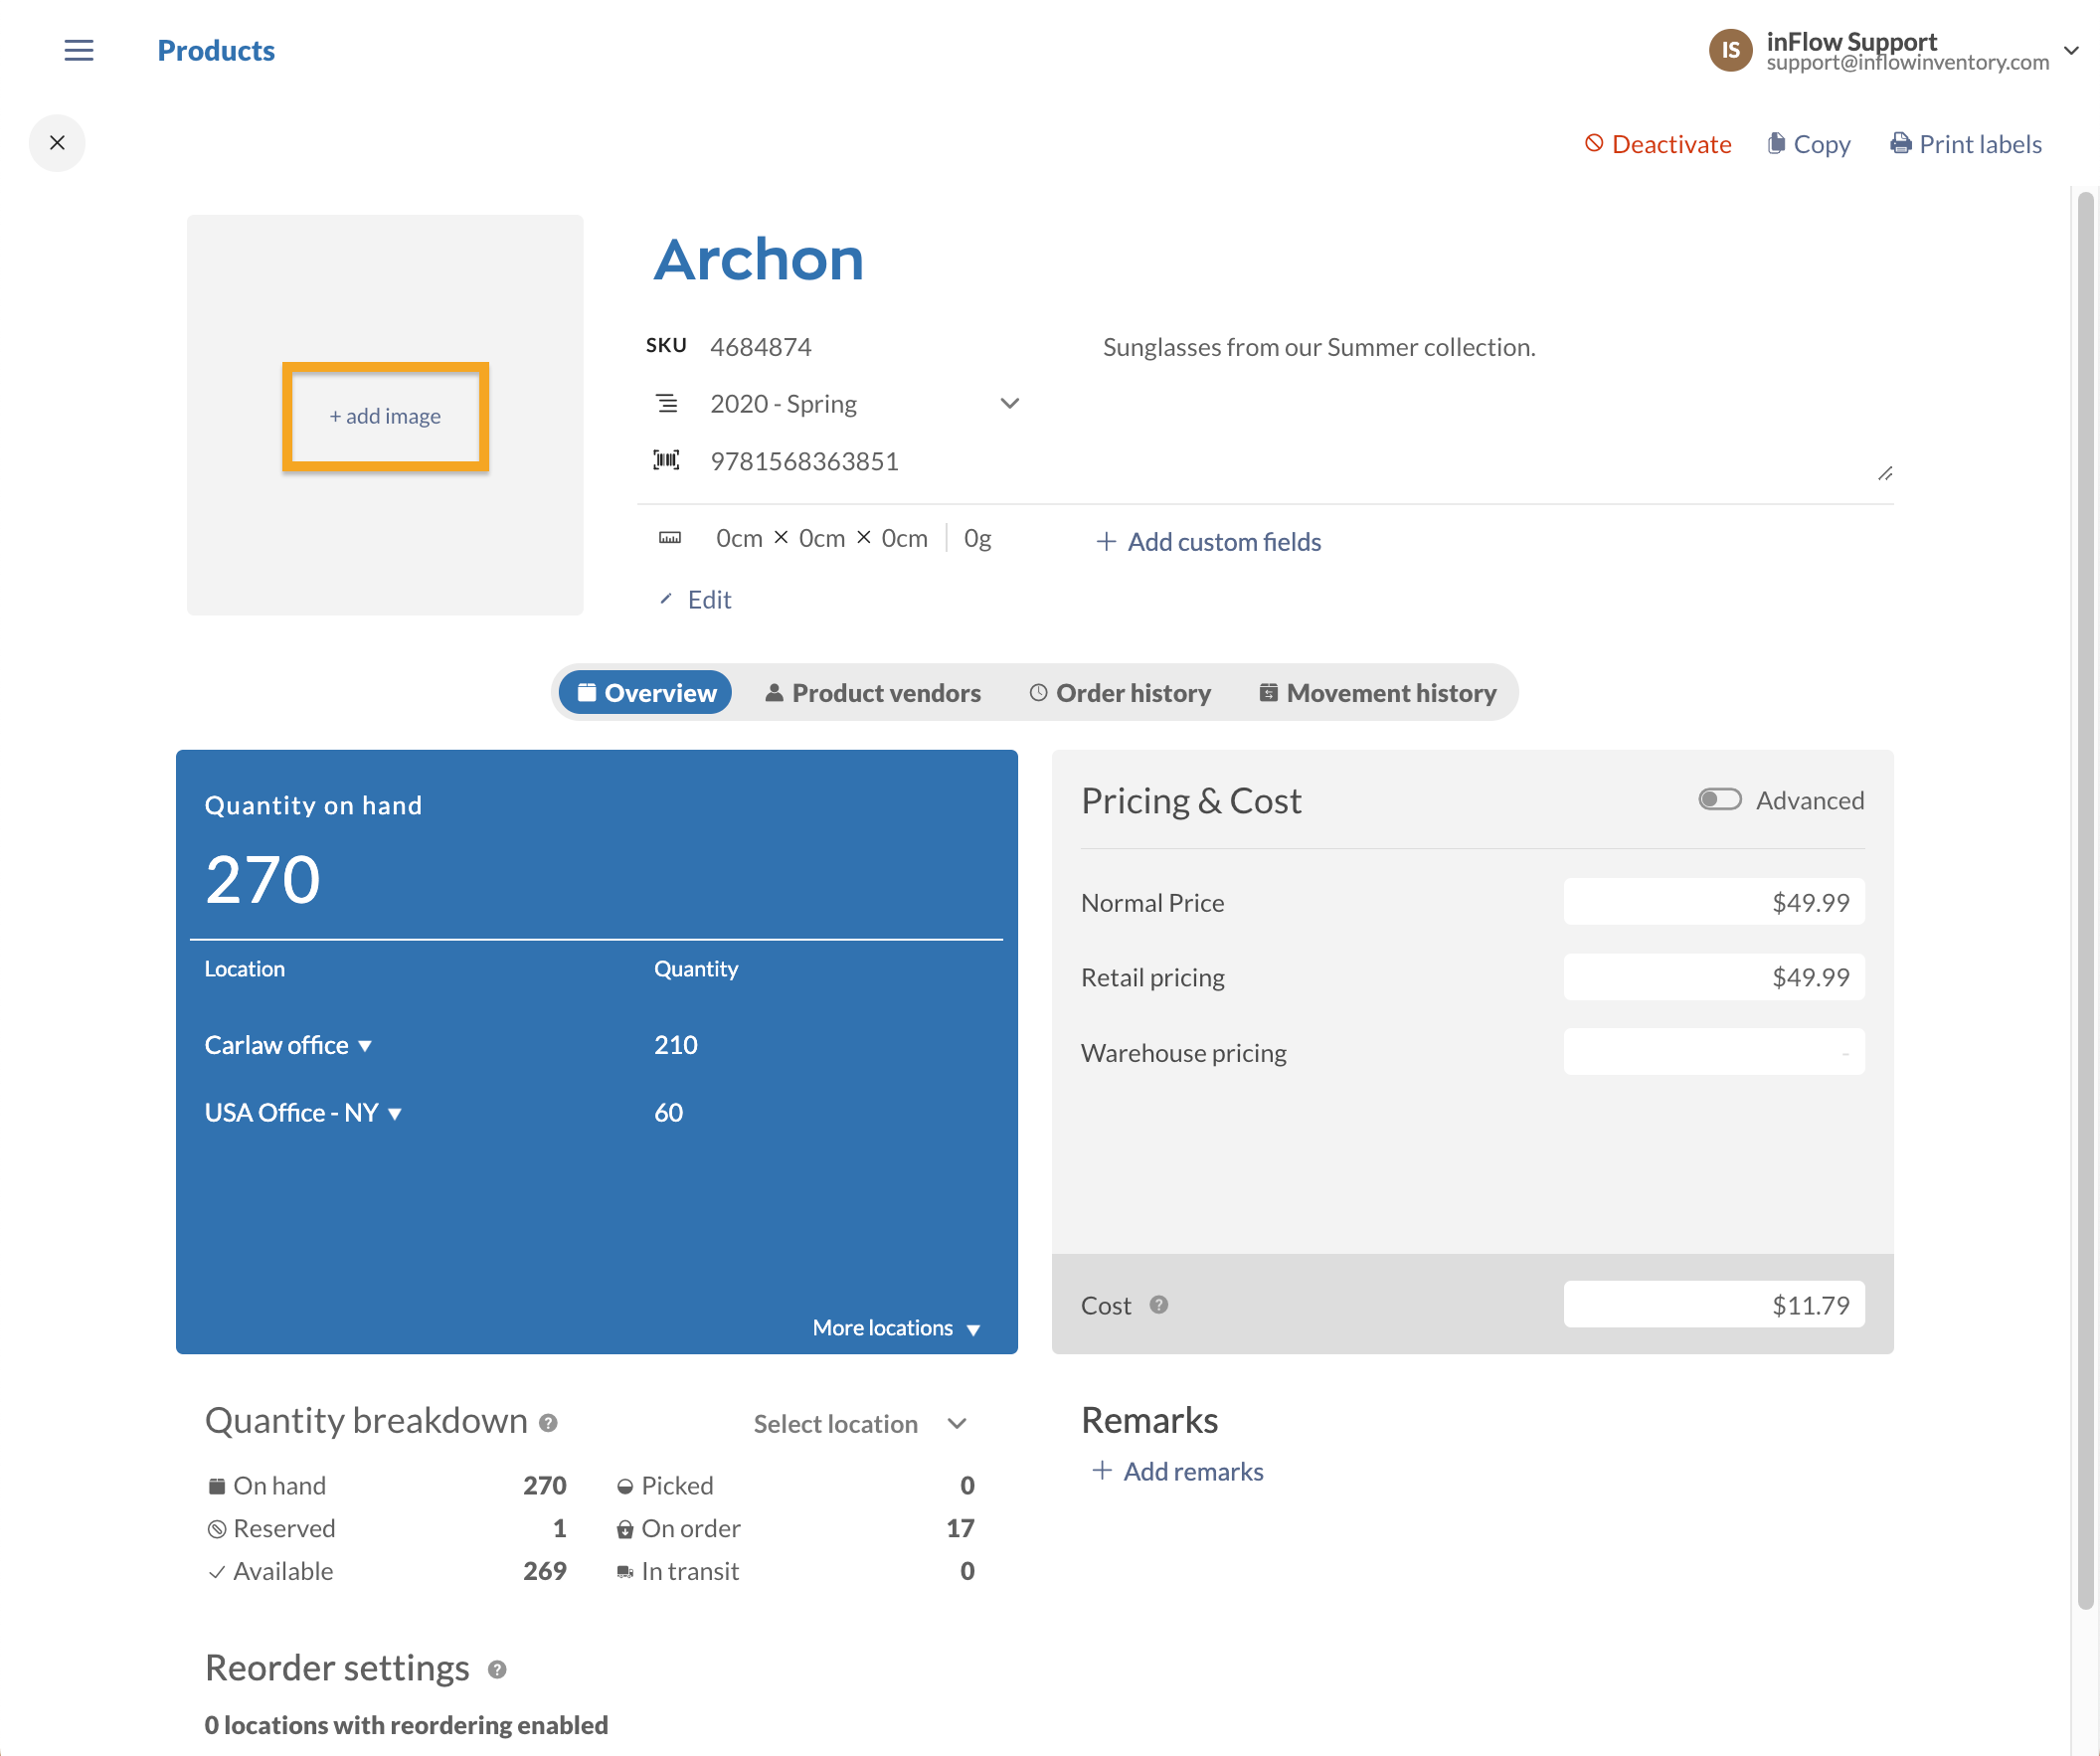
You can add pictures to products to help you and your team identify products at a glance (instead of having to read the description). You can only add one picture at a time, and only the first picture added will show up in both the product record itself and when selecting an item in a sales or purchase order.
- Open the product record.
- Click Add Image or the plus icon under a product image.
- Choose the picture you want to use and then click Open.
- Save your product.
Now that your image has been added to the product, you can click on the magnifying glass at the top right of the image in the product record to see the photo enlarged.
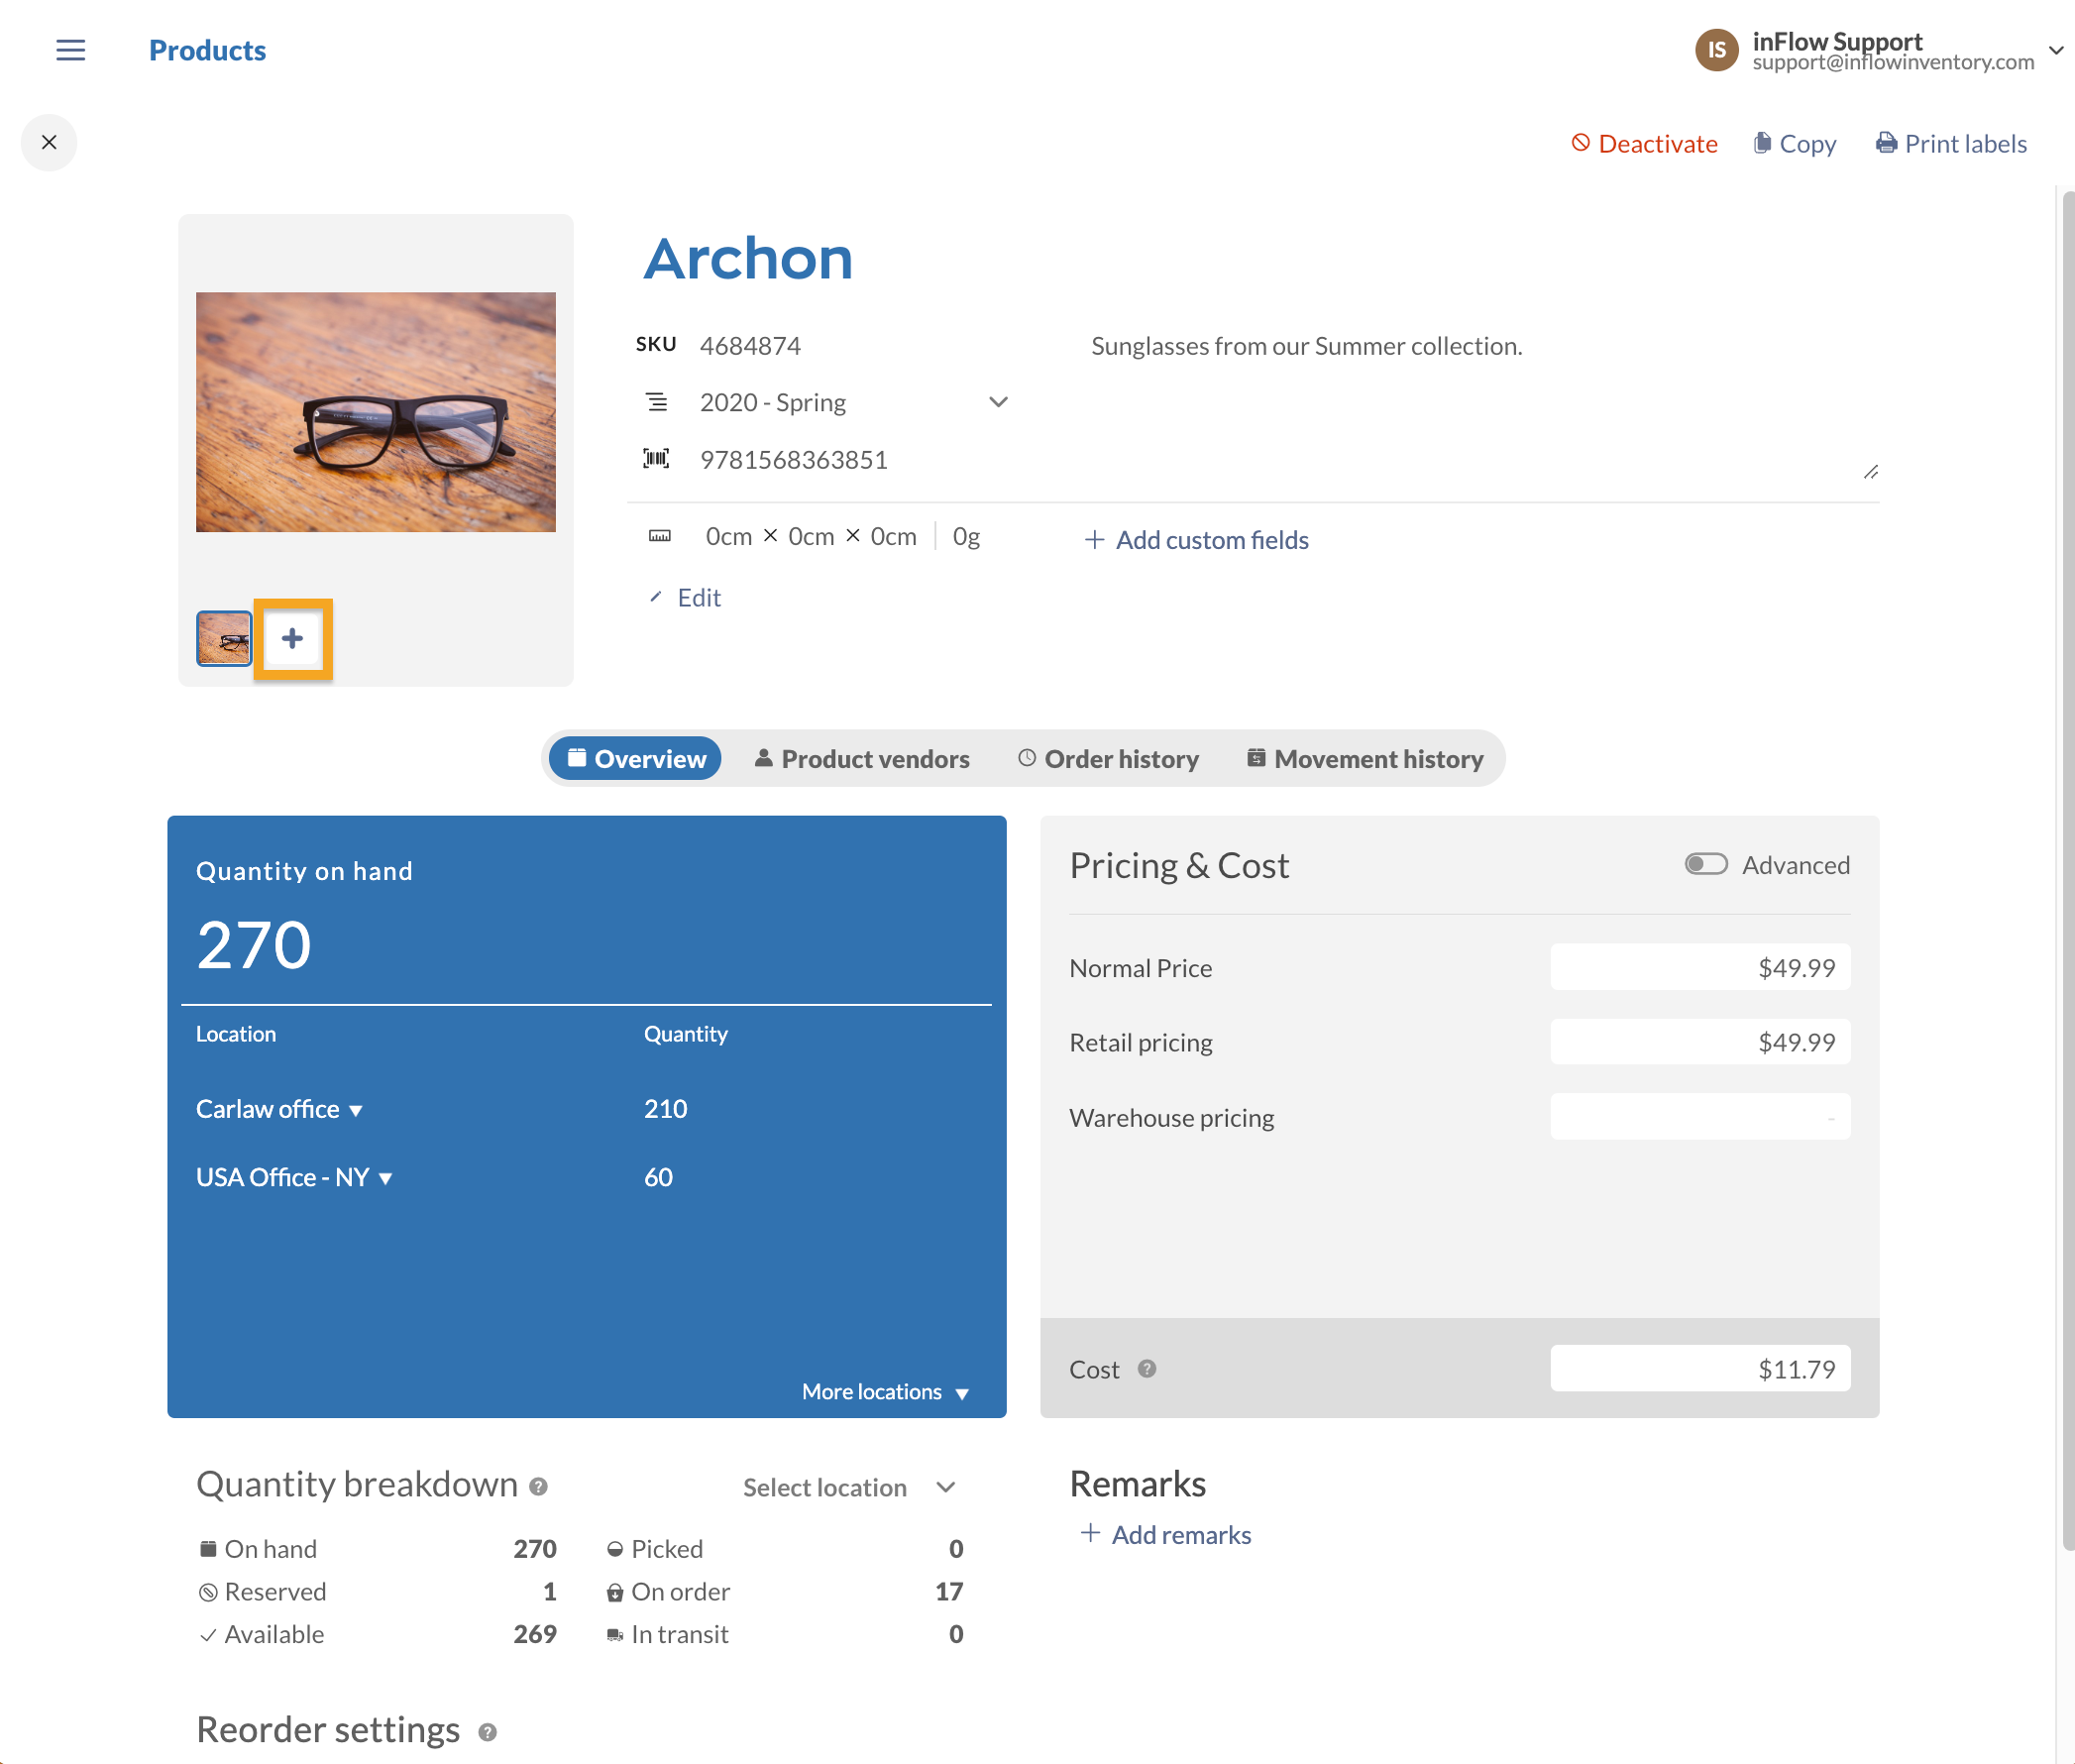
inFlow Inventory for web has the option of adding multiple images to a product record, compared to inFlow Inventory for Windows, where only one image can be shown (this will be the first image on the product record).
Accepted sizes and formats
Pictures can be up to 20 MB in size, and the following formats are supported: JPG/JPEG, PNG, and BMP.
Adding multiple images
To add additional images, click on the “+” icon next to the thumbnail-sized product image.
Importing product images with a CSV file
If you want to add product images in bulk, you can include image links in a CSV file and import them to inFlow. This article explains this process.
Setting a default image
When you select this product on other inFlow screens, the default image will appear. If the default isn’t set, the first image added to the product record will be the default image. Follow the steps below to change the default image.
- Click on a non-default image to magnify it.
- Select the ellipsis (3 dots) at the top right-hand corner of the image.
- Click on Make image default.

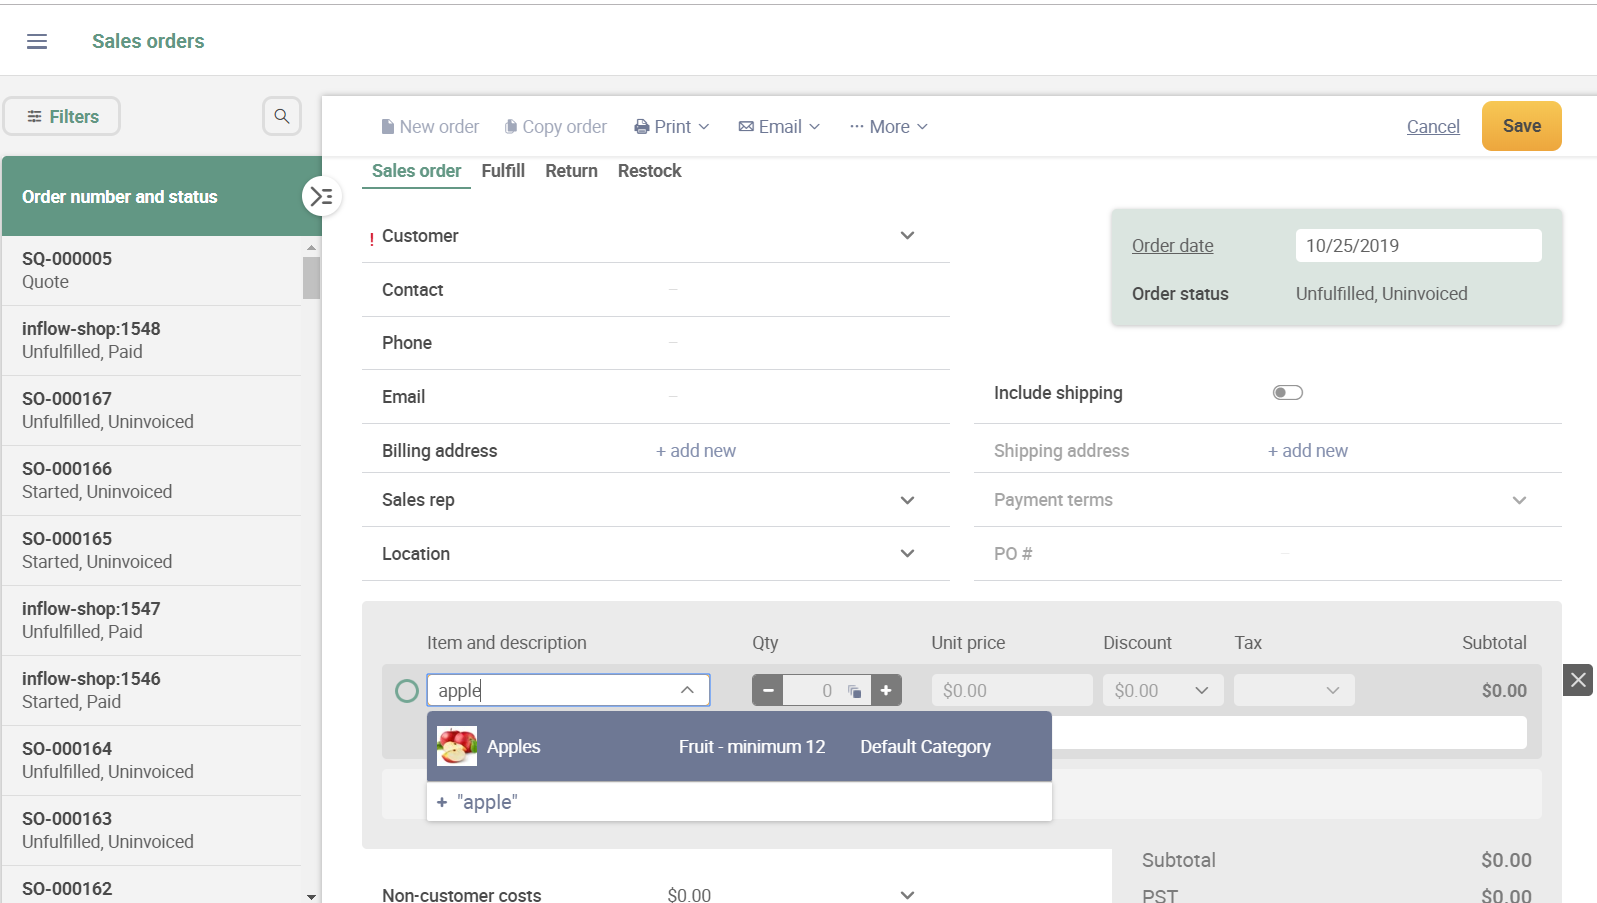
Sales order example
In a sales or purchase order, type in the item you are looking for. Before you press Enter, you can see some product details, including the picture.
Windows
How to add images to products
You can add pictures to products to help you and your team identify them at a glance (instead of having to read the description).
- Open the product record.
- Click Add Image.
- Choose the picture you want to use and then click Open.
- Save your product.
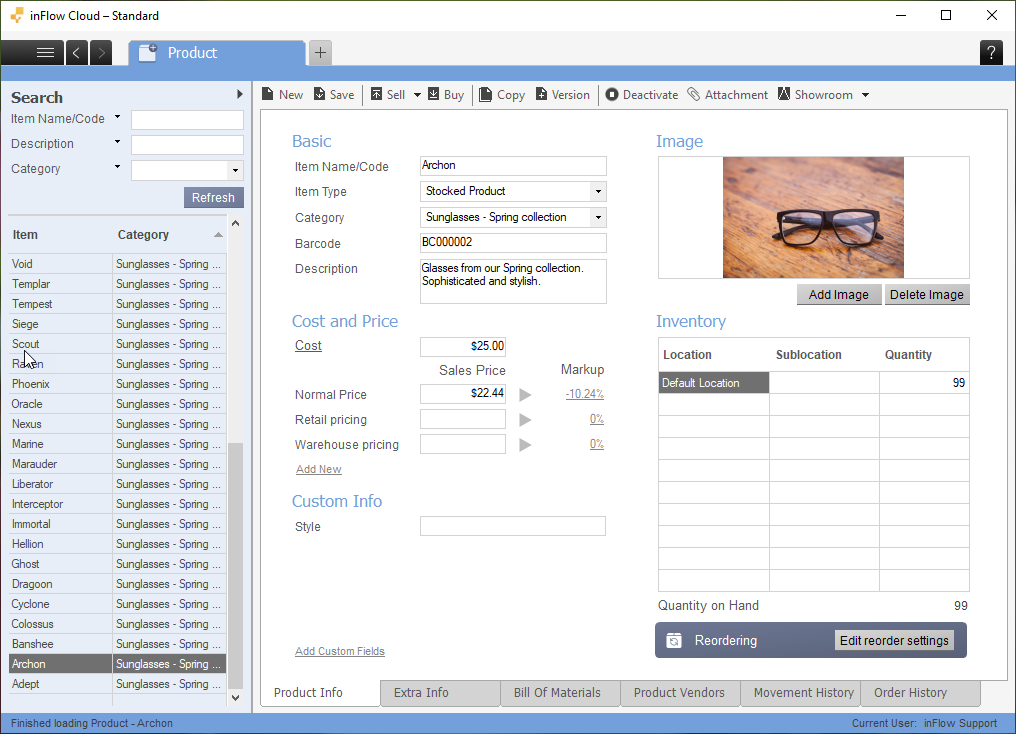
Now that your image has been added to the product, you can click on it to see the enlarged photo.
On inFlow Inventory for Windows, only one image can be displayed. Whereas inFlow Inventory for Web and Mobile can have multiple product images.
Importing product images with a CSV file
If you want to add pictures to multiple products in bulk, you can include image links in a CSV file and import them to inFlow. This article explains this process.
Accepted sizes and formats:
Pictures can be up to 20 MB in size, and the following formats are supported: jpg/jpeg, png, and bmp.


0 Comments