If you see the error “This vendor name is already in use,” it’s likely that this customer already exists. inFlow doesn’t allow you to have more than one customer with the same name. To fix this, you can reactivate the vendor record.
Vendor Summary
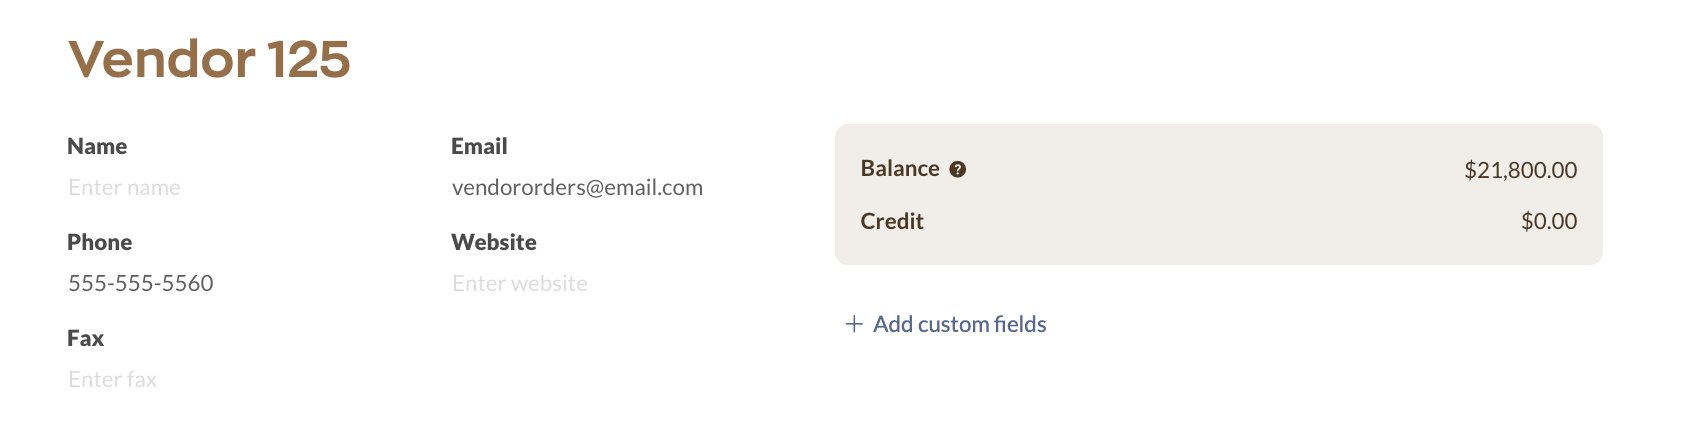
Vendor details
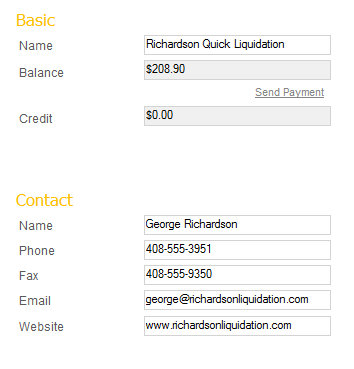
The vendor’s name and contact information are at the top of a vendor record. You can edit the vendor details by selecting any of the fields.
Your vendor financial status, including your balance and credits, is displayed to the right of the profile. These fields update automatically with changes to purchase orders.
Below the balance and credit, select Add custom fields to add up to 10 type-in fields to enter information that inFlow doesn’t track by default.
Custom fields with the same title can be linked between vendor and purchase order records, eliminating the need for manual entry and allowing for shared information display.
How are balance, credit, and due amounts calculated?
You may have noticed that these amounts aren’t able to be edited. Look below to understand how inFlow calculates these figures.
Term
Explanation
Balance
The balance is the total funds you owe your vendor from purchase orders that have reached their due date.
Credit
These are the unused credits your vendor has issued to you from previous refunds on a purchase order.
Due
Located in the payment history tab, due shows the total funds outstanding to your vendor for all orders within the selected date range, including older unpaid orders.
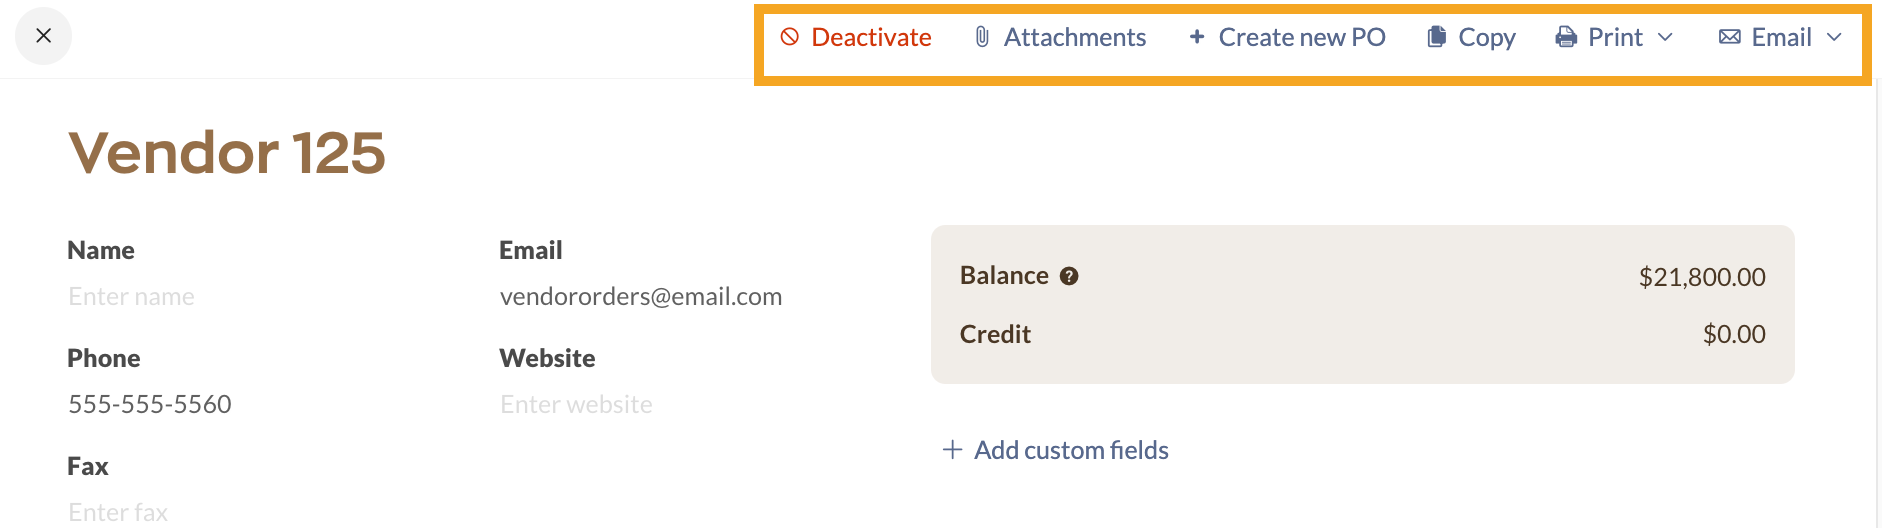
Vendor record action bar
Above the vendor details section are the buttons for printing, emailing, and more.
Use this button to email a vendor statement document to a vendor.
Overview tab
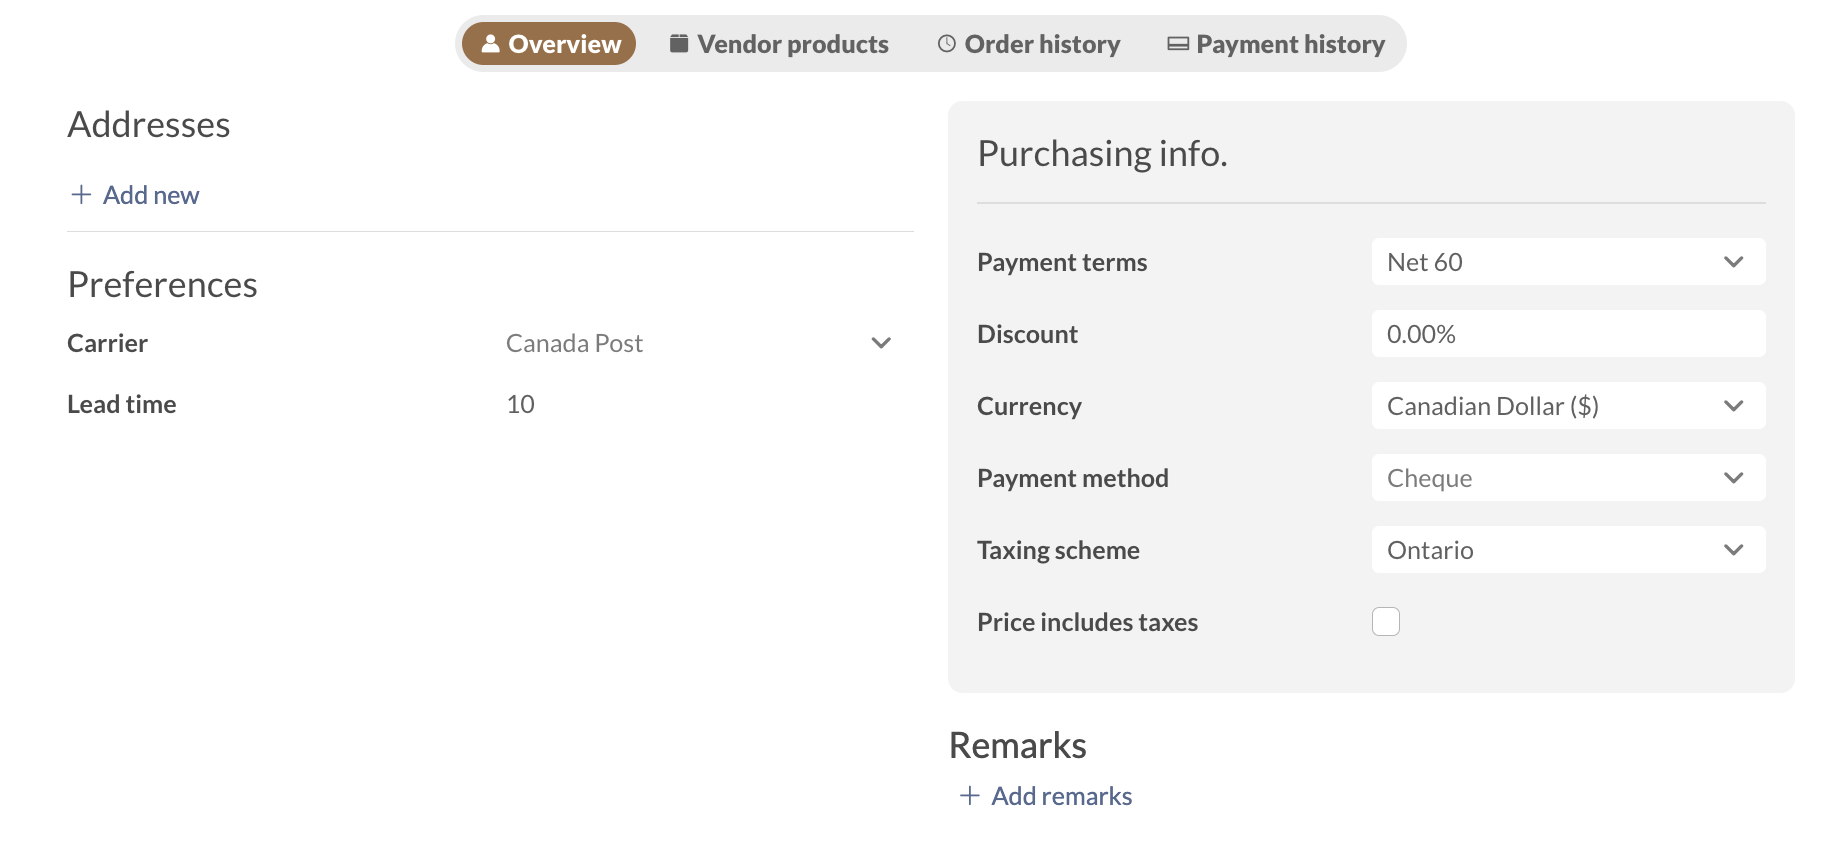
This tab allows you to add more settings for the vendor. Below is a breakdown of the Overview fields.
Addresses
You can add vendor addresses in this section. To add new addresses, click Add new. You can set the address type and set a default address.
Preferences
This section is for setting general preferences for your vendor. This includes:
Carrier
Lead time
Purchasing Info
This is where you can enter the vendor’s financial-related information. This includes:
Payment terms
Discount
Currency (pricing scheme)
Payment method
Taxing scheme
Price includes taxes
Remarks
This field is where you can leave internal notes about the vendor. All team members with access to customer records will be able to view the remarks field.
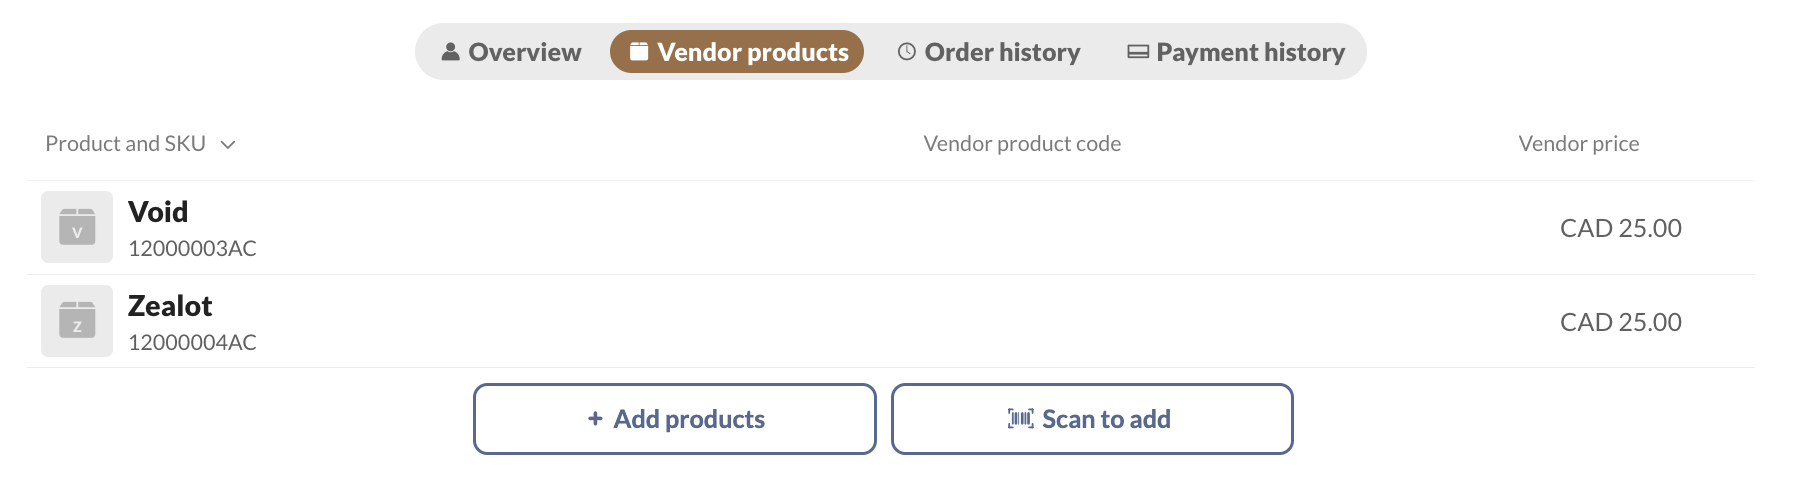
Vendor product tab
The vendor product tab is where you can see a list of all the products you’ve purchased from the vendor. If products are missing, you can select them by clicking Add products.
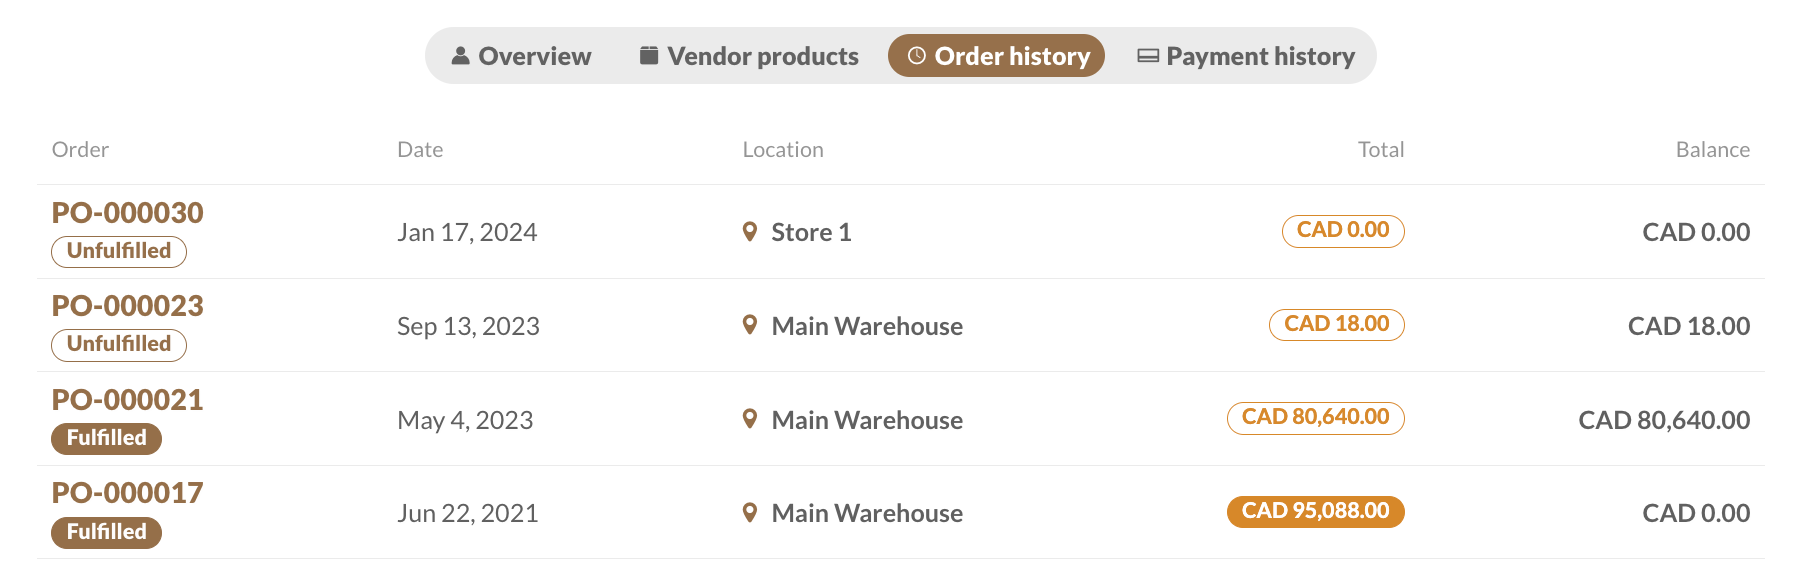
Order history tab
This tab lists the last 100 purchase orders made to the vendor, listed from newest to oldest.
Note: Team members with restricted location access can only see orders that are in the location(s) they have access to.
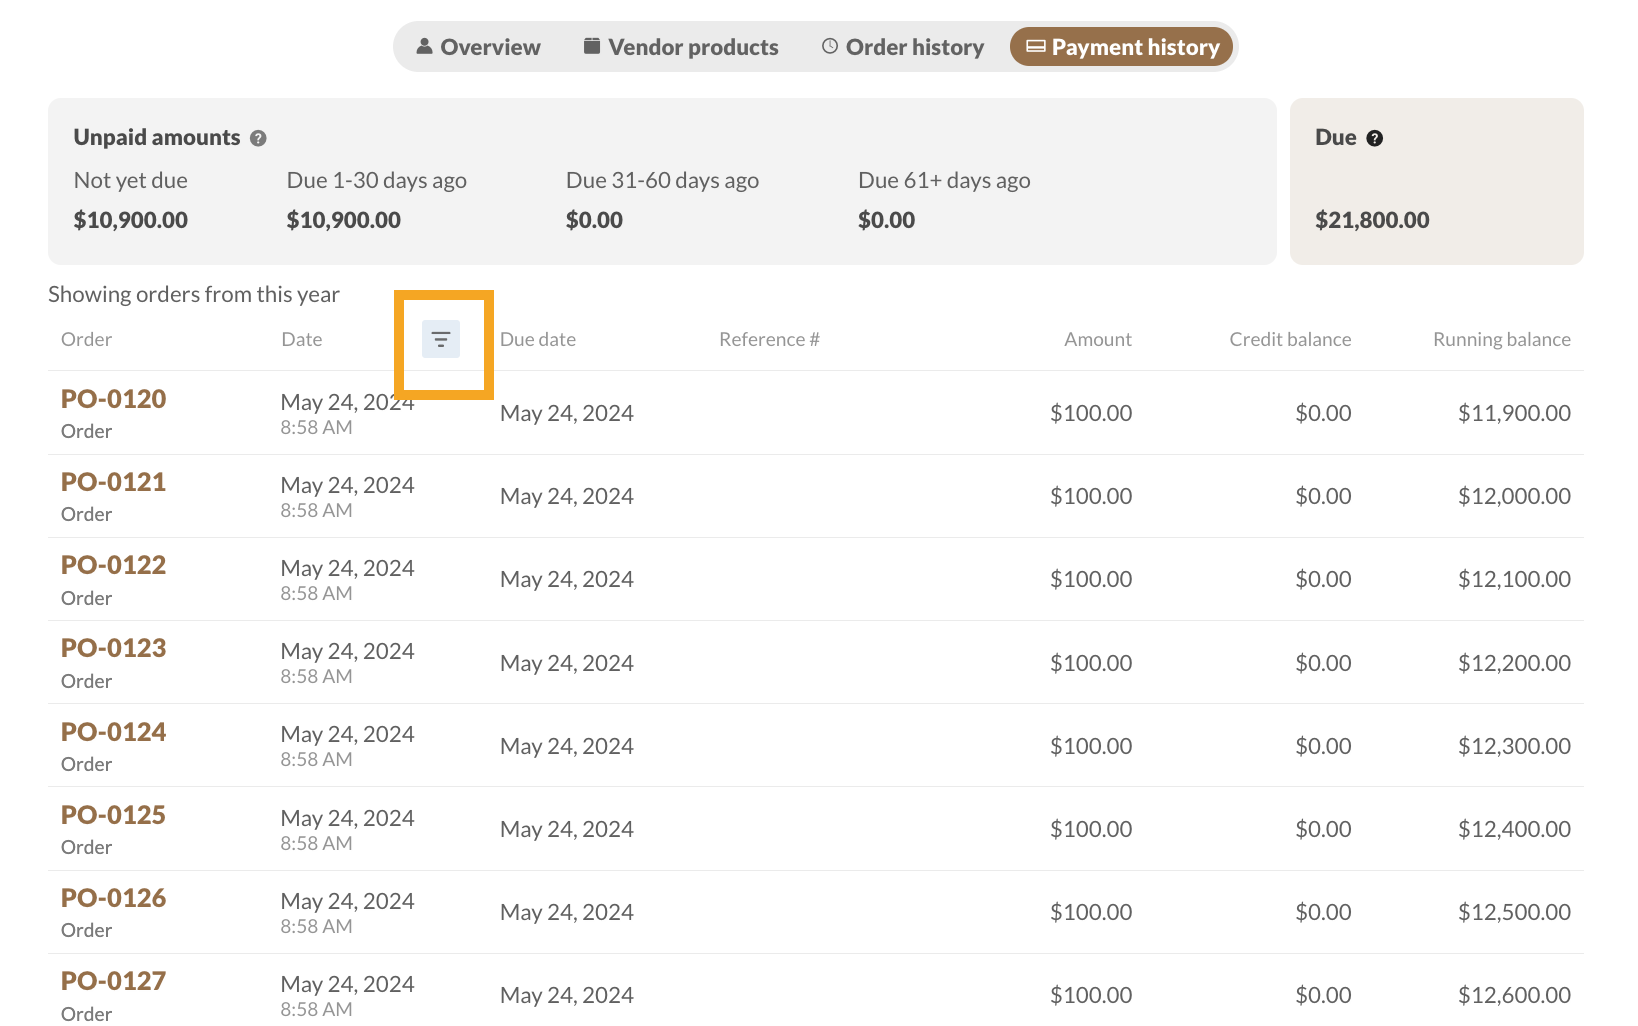
Payment history tab
As a business owner, it’s crucial to maintain sufficient inventory by staying on top of purchase orders from vendors/suppliers.
The payment history tab is where you can track the last 100 transactions with your vendor. If there are more than 100 entries, you can view the Vendor Payment Details report for a complete list of your vendor payments.
Unpaid amounts
Above the transactions, you can view your vendor’s financial status based on the selected date in the table below.
Payment history table
The transaction table displays payments and outstanding purchase orders from your vendor, limited to the most recent 100.
By default, the table will show orders from the date of the last printed/emailed vendor statement. If a vendor statement hasn’t been made, inFlow will default to showing the past year from the date of viewing.
Select the date filter icon to change the date range of the table.
Select the date filter icon to change which orders are displayed on the table. You can filter by:
Since last statement
This month
Last month
This year
Custom (date range)
Vendor list view
If you’d like to see a full list of your customers:
Click on the Vendor list from the inFlow Homepage to view all the vendors in inFlow. (Or you can click on Main Menu>Vendor list when navigating from other inFlow screens.)
To narrow down the customer list, select All filters, and add a checkmark next to a filter you want to search by.
The chosen filter will be added to the vendor list menu, where you can enter what you’d like to search for.
To make changes to the vendor table, click on the Customize headers button. You can rearrange, add, or remove fields on the fields listed.
Windows
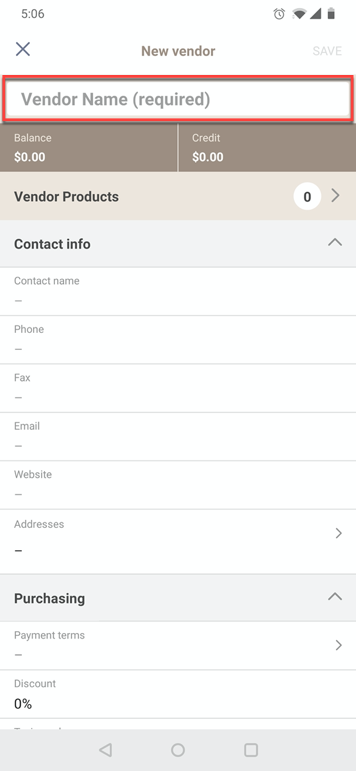
Creating new vendors
To start, head over to Main Menu > Purchasing > New Vendor to input your vendor details.
Name and Contact
The only required field to create a vendor record is the Name field under the Basic section. The data in this field must be unique.
If you’re trying to create a new vendor and get the error “This vendor name is already in use”, then you have likely deactivated this vendor record. inFlow doesn’t allow you to have two vendors with the same name. To fix this, you can find and reactivate that vendor record as shown here.
Generally, you’ll want to put the company name in the Basic name field and a contact person in the Contact name field, as seen in the screenshot above.
The remaining fields, Balance and Credit, cannot be adjusted and are a result of calculations of the order history with the vendor and any issued credits to you.
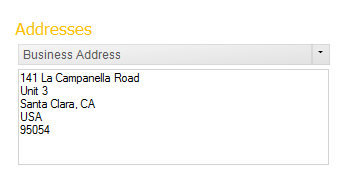
Address
In the address section, you can enter your vendor’s business address. Click the empty box below where it says Business address and fill in the info.
Purchasing Info (optional)
This section covers any default settings you want to automatically use in a sales order for the specific vendor. This is useful so you don’t have to manually change payment / taxing info per vendor, especially if they always use a specific one. In the example above, your vendor has given you 60 days to pay for any order that they’ve invoiced you on, and everything is also automatically set to Canadian dollar pricing.
You can also choose to specify taxing schemes (if they’re in a different state using different tax rates, for example) so you don’t accidentally pay the wrong tax.
What else can I do from the vendor screen?
Asides from storing useful information, there are other things you can do on this screen as well! You can:


0 Comments