
How to import a customer or vendor list to inFlow
You can import customer/vendor info into inFlow using a CSV file. Take a look below for full details.
Import file
Video
Take a look at this video for a visual of how to import customers and vendors.

Check out the Importing data playlist for more importing videos!
Creating a CSV template
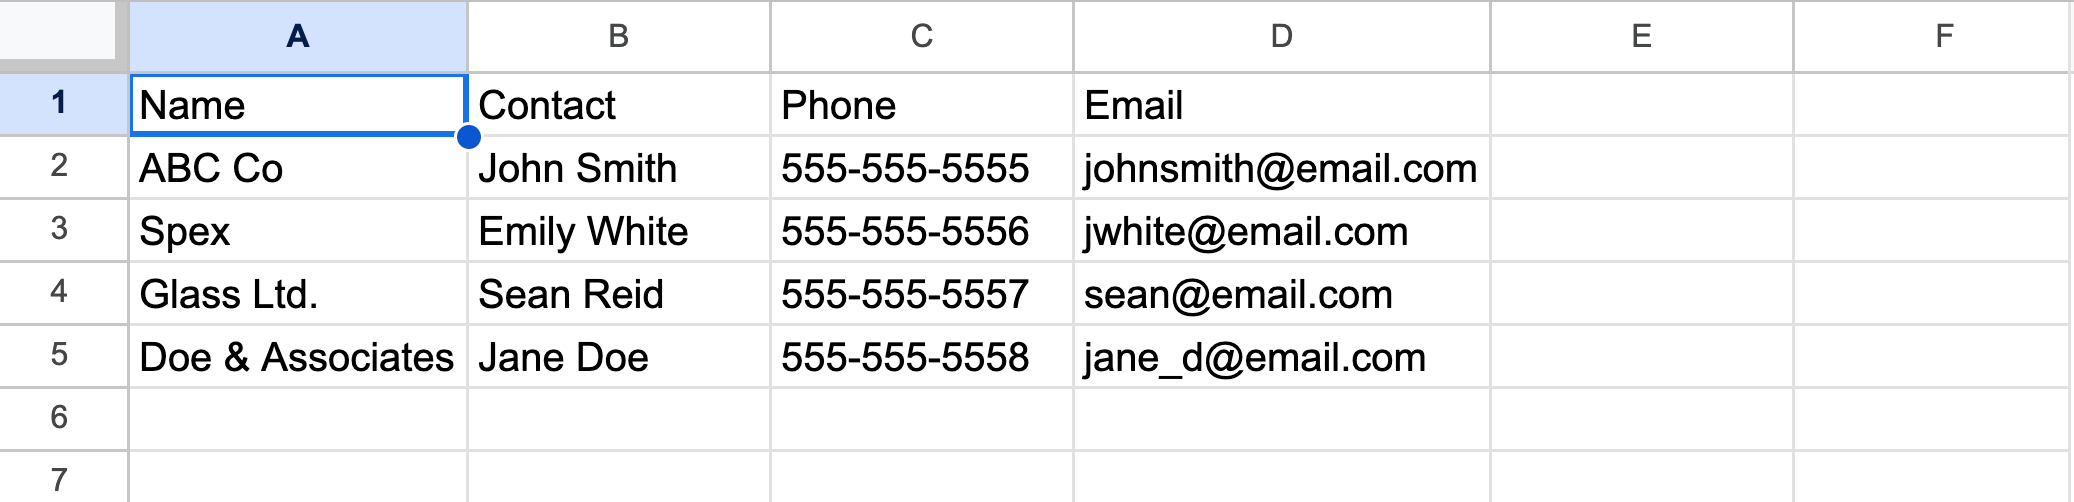
The only required field is “Name,” but there are other fields that you can input as well, like address, currency, and contact. In inFlow, the Name field is unique. inFlow can’t create duplicate records with the same name.
We suggest adding company names to the Name field where possible and adding reps to the Contact field.
Please note inFlow doesn’t have “first name/ last name”, enter the full name in the Contact field.
Exporting a template from inFlow
If you’re looking for a quick way to create a template for your customer (or vendor) data, we’ve got a great trick! First, add at least one new customer (or vendor) to your system, and then you’ll export from the system.
Go to Main Menu > General > Export Data and select the “Customer” (or “Vendor”) option. This will give you a .csv file with all the columns inFlow can track. You can use this file as a starting point to fill in your details and add your customers (or vendors) into inFlow.
You can also use the sample customer and vendor import list we’ve exported for you and make your changes there.
Import steps
inFlow Inventory for Web
- Click on Main Menu>Import.
- Select Vendor or Customer from the Data type drop-down menu.
- Select the CSV file from your computer, then click Next.
- Match the fields on the left to the fields in the drop-down menus.
- Click Import when done. You’ll get an email with the results when the import is complete.
inFlow Inventory for Windows
- Click on Main Menu> General>Import Data.
- Select Vendor or Customer from the Data Type drop-down menu.
- Click Browse to select the CSV from your computer, then click Next.
- Match the fields on the left to the fields in the drop-down menus.
- Click Import when done. You’ll get an email with the results when the import is complete.

0 Comments